
さくらのVPSでWindows動かしたいんだけどどうやるんだろう?
そんな疑問に応えるためにこの記事では、さくらのVPSでWindowsサーバーを立ててリモートデスクトップ接続するっていうことをやっていこうと思います。
この記事で分かること
- さくらのVPSでWindowsサーバーを立てる方法
- 立てたWindowsサーバーにリモートデスクトップ接続する方法
さくらのVPSでWindowsを使いたい方は少しは参考になるかと思います。
さくらのVPSでWindowsを使っていきますよ。

さくらのVPSでWindowsサーバーにリモートデスクトップ接続する手順
さくらのVPSでWindowsサーバーを立ててリモートデスクトップ接続する流れとしてはこんな感じです。
- さくらのVPSに登録する
- さくらのVPS for Windowsでサーバーを立てる
- 立てたサーバーにリモートデスクトップ接続する
さくらのVPSへの登録は画面に沿っていけばできます。
申し込むとアカウント登録をしてない人は新規登録を促されるので画面に従ってしてしまいましょう。
ここからはWindowsサーバーの構築方法について書いていきますよ。
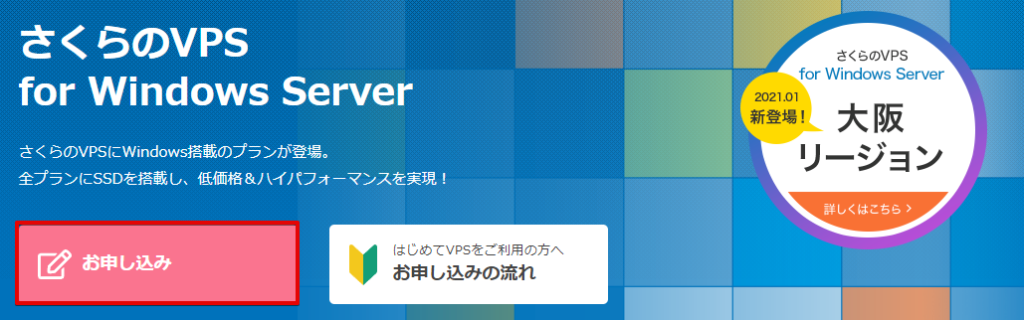
さくらのVPS for Windowsに申し込む
さくらのVPS for Windowsを選んだら、まずはサーバー選択をします。
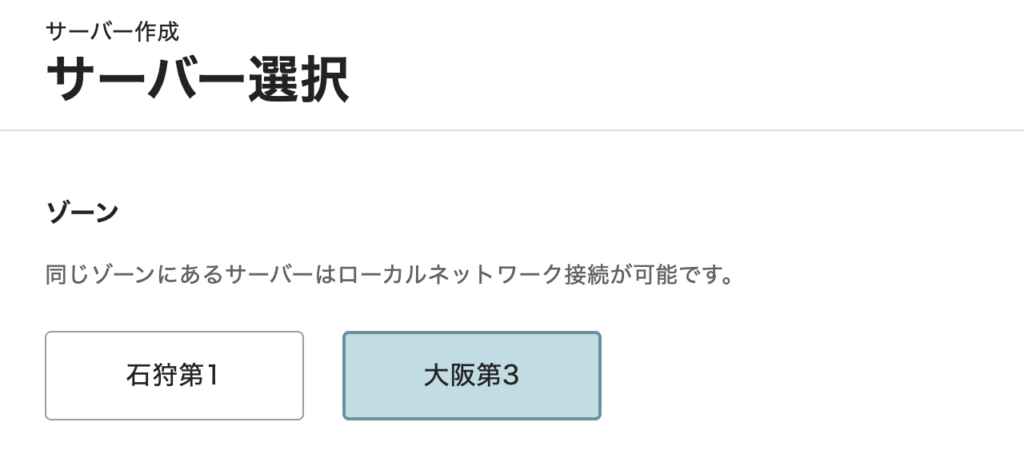
ゾーンは別にどっちでもいいけど、大阪第3にしておきます。続いてプランの選択と支払い方法を選ぼう。
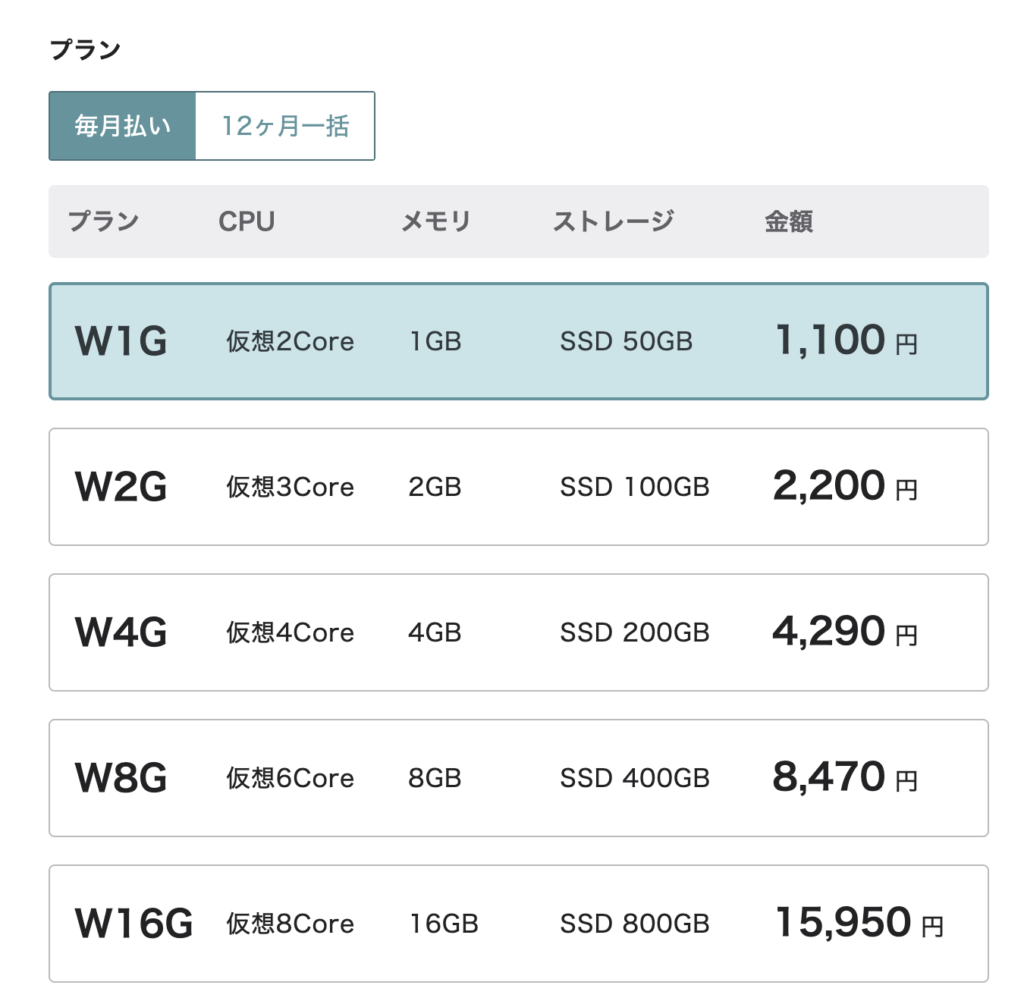
いくつか選べるプランがあるけど、今回は以下のプランでいきます。
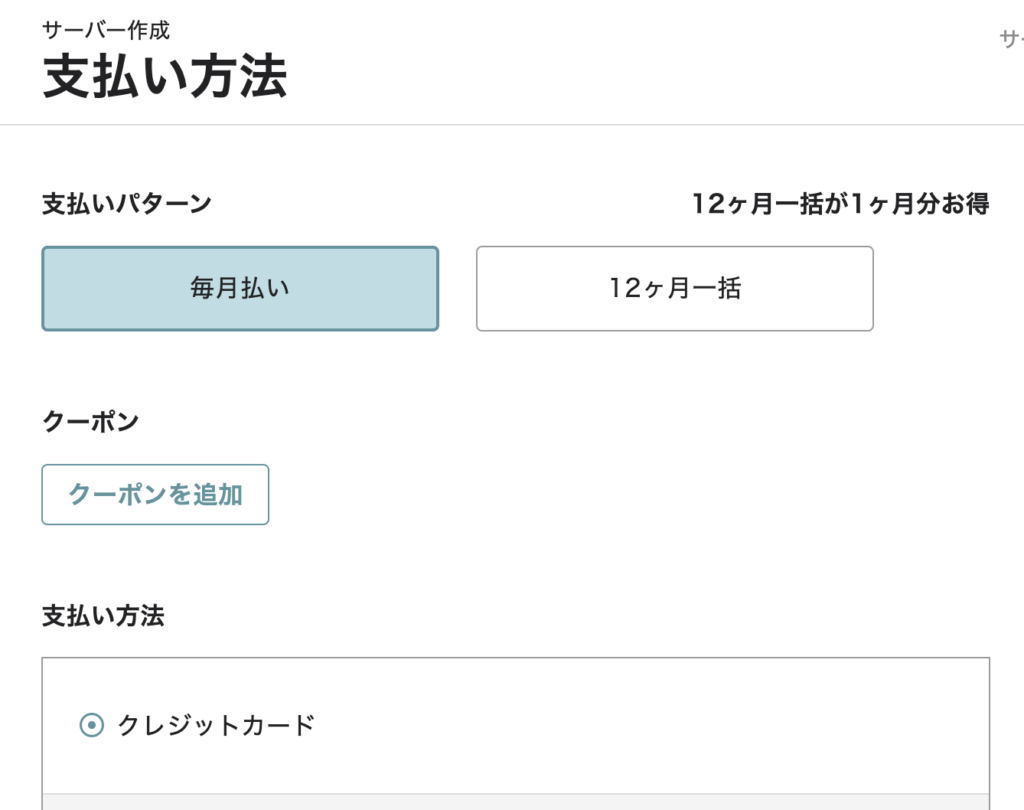
- 支払い方法・・・毎月払い
- プラン・・・W1G
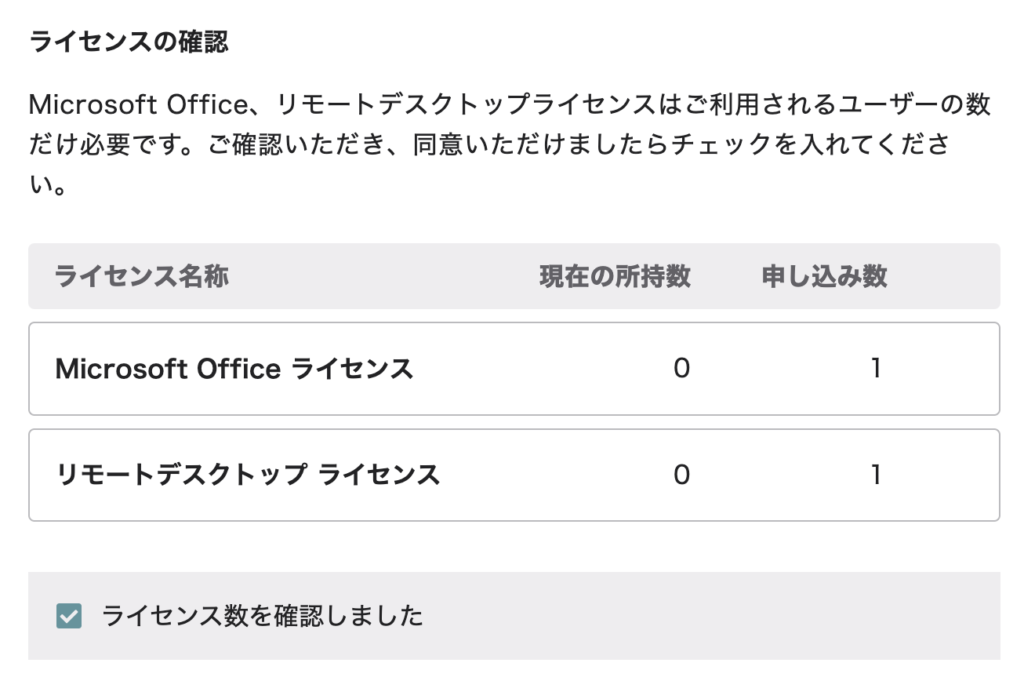
任意のソフトウェア選択です。OfficeやSQL サーバーを使う際に必要みたいですね。今回はチェックを入れて進めます。
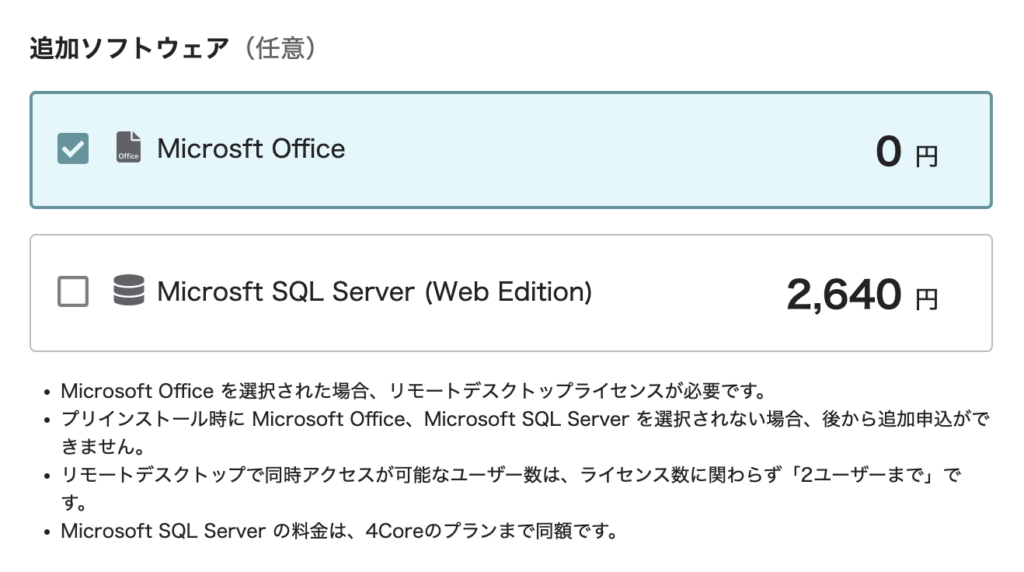
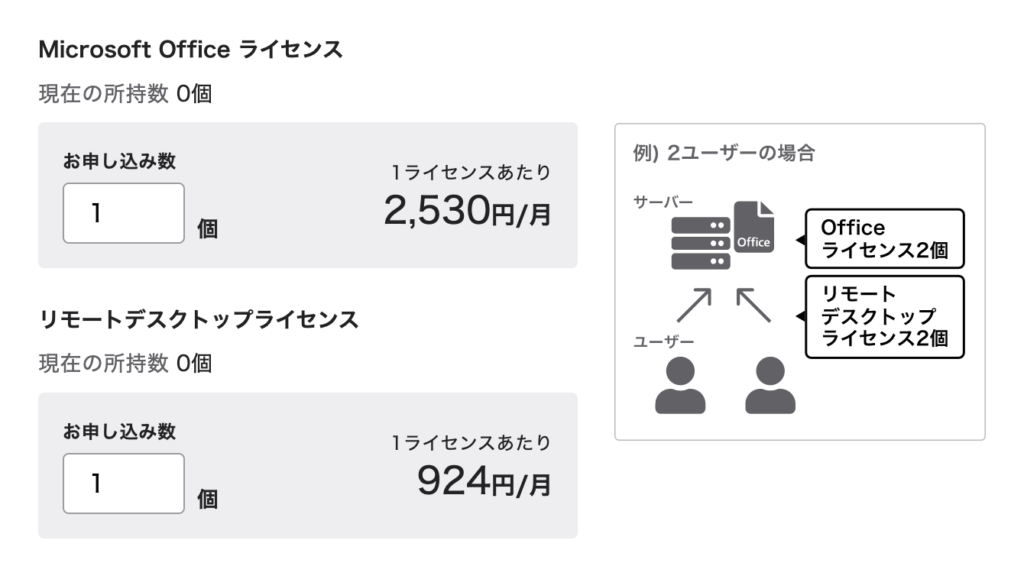
Microsoft Office、Microsoft SQLは後から追加申し込みができないから、使う場合は選択しておきましょう。
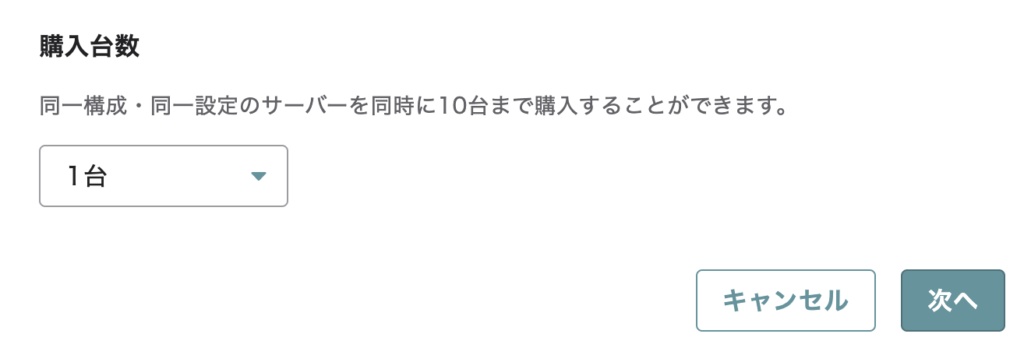
購入台数は1台にしておきます。
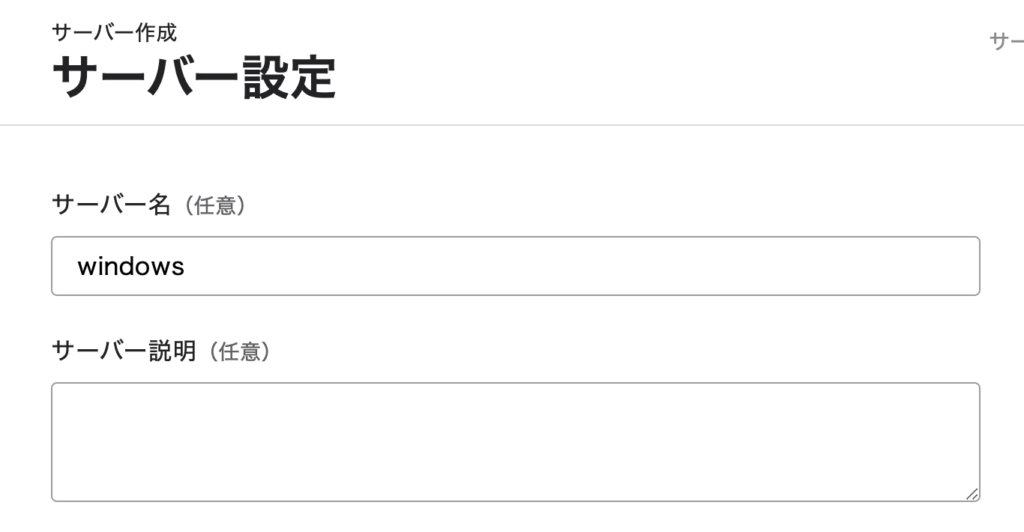
次へボタンを押すとサーバー設定画面に移ります。サーバー名や説明を入力したかったら入れておきましょう。管理する時に見やすくなります。
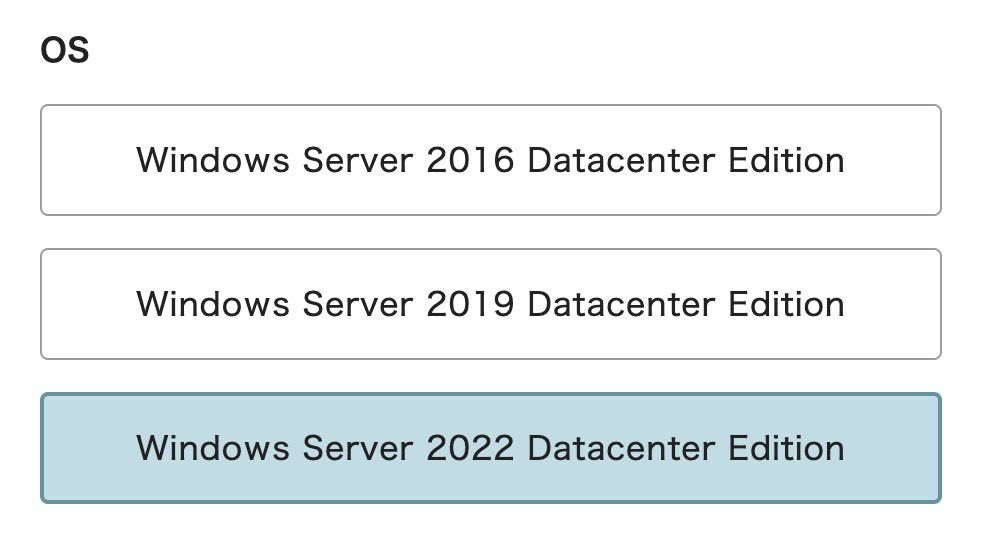
OSは一番新しそうなWindows Server 2022 Datacenter Editionにします。
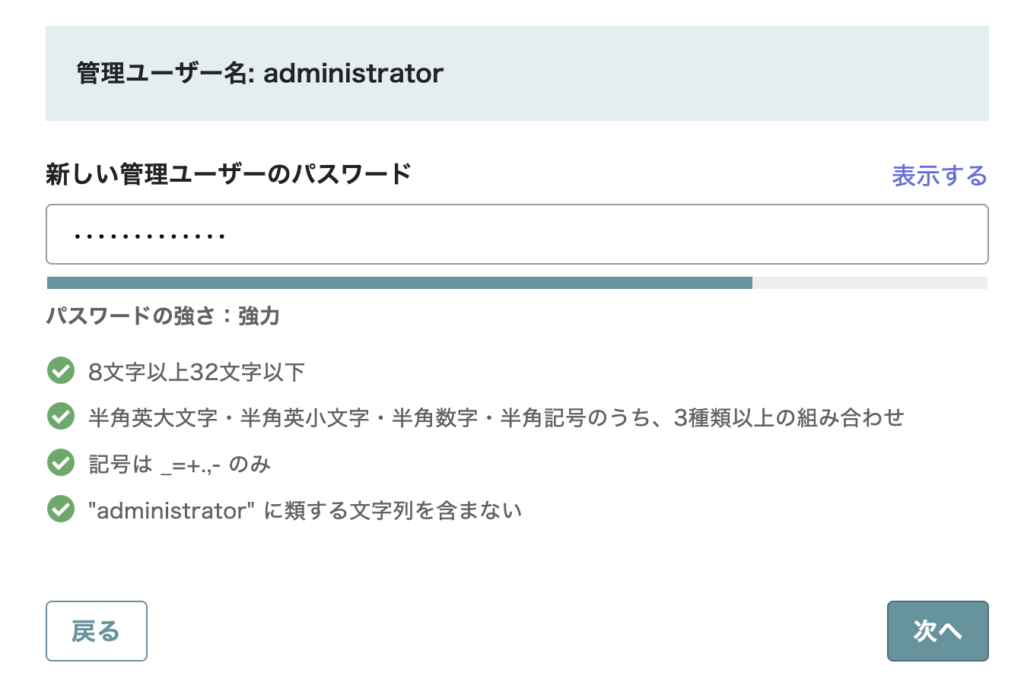
管理ユーザーのパスワードを入力します。
次へボタンを押して支払い方法を選択。クレジットカード支払いにすると2週間お試し期間が利用可能になるから、クレジットカードを選択するのがおすすめです。
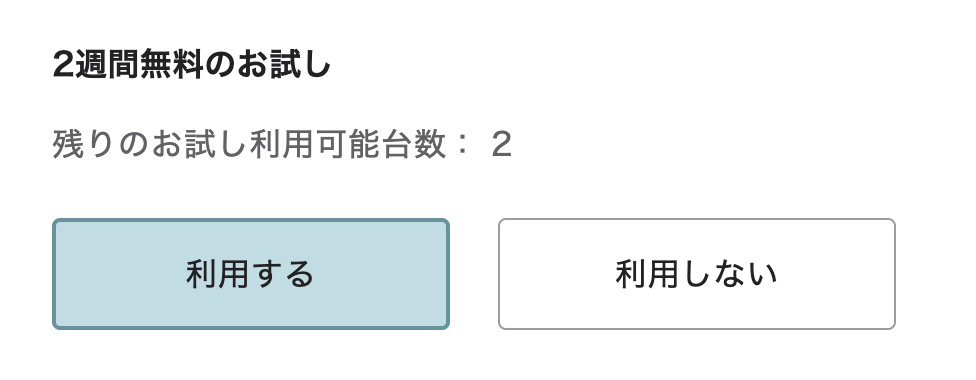
もちろん2週間無料のお試しは利用します。
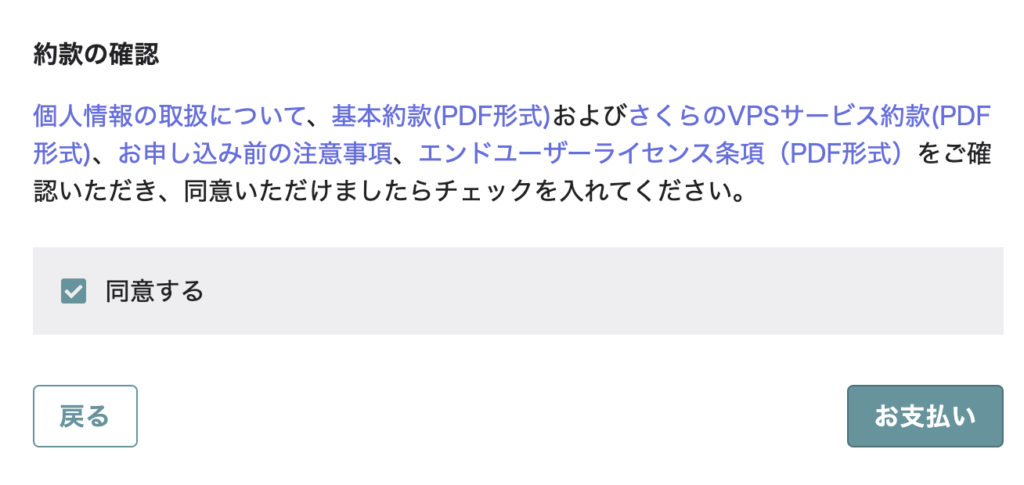
お支払いボタンを押すと申し込みが完了です。
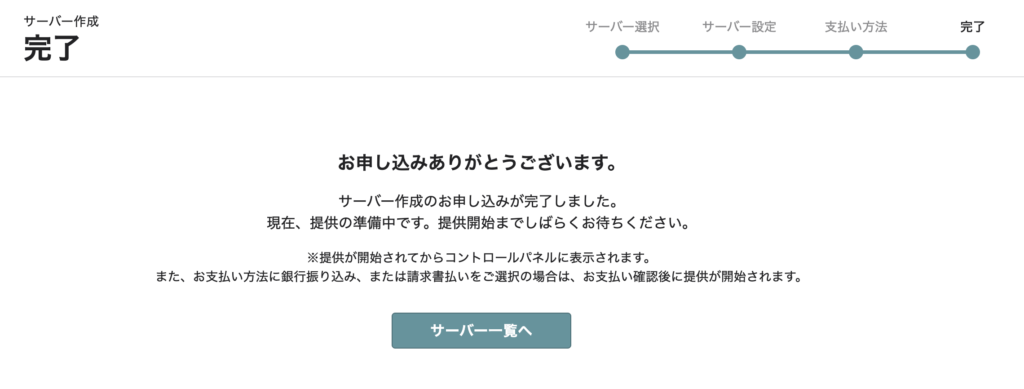
申し込みが完了するとメールも来ているから確認してみるといいですよ。
さくらのVPSで作成したWindowsサーバーの確認をする
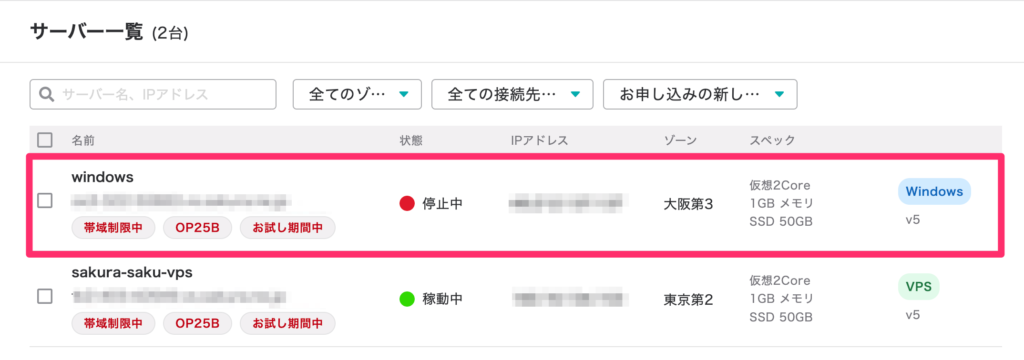
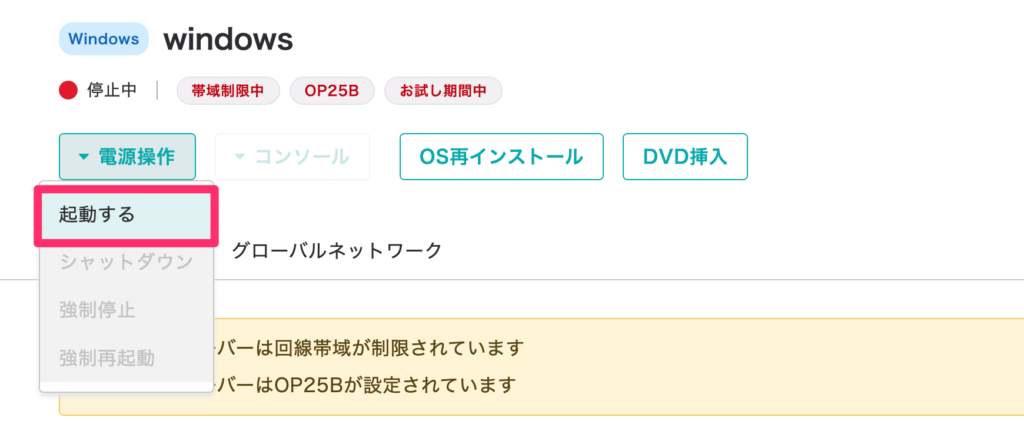
少し時間が経つと今作成したサーバーがサーバー一覧に表示されます。最初の状態はサーバーは停止中なので起動させて確認してみましょう。

サーバーを起動したらコンソールを使えるので見てみます。

コンソールから見てみるとWindowsの画面が表示されていますね。
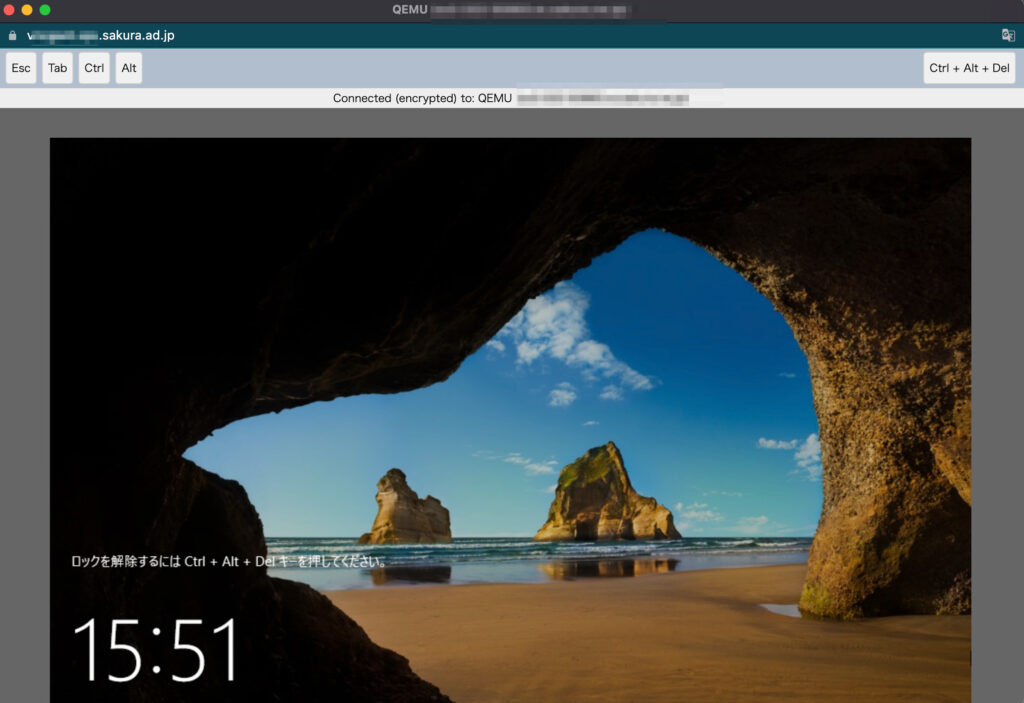
とはいってもこの画面からやることはないので、パソコンからこのサーバーにリモートデスクトップ接続をします。
WindowsサーバーのIPアドレスを確認する
今作成したWindowsサーバーのIPアドレスを確認します。
仮登録完了のメールにも記載されているけど、サーバー情報から見ることができる。
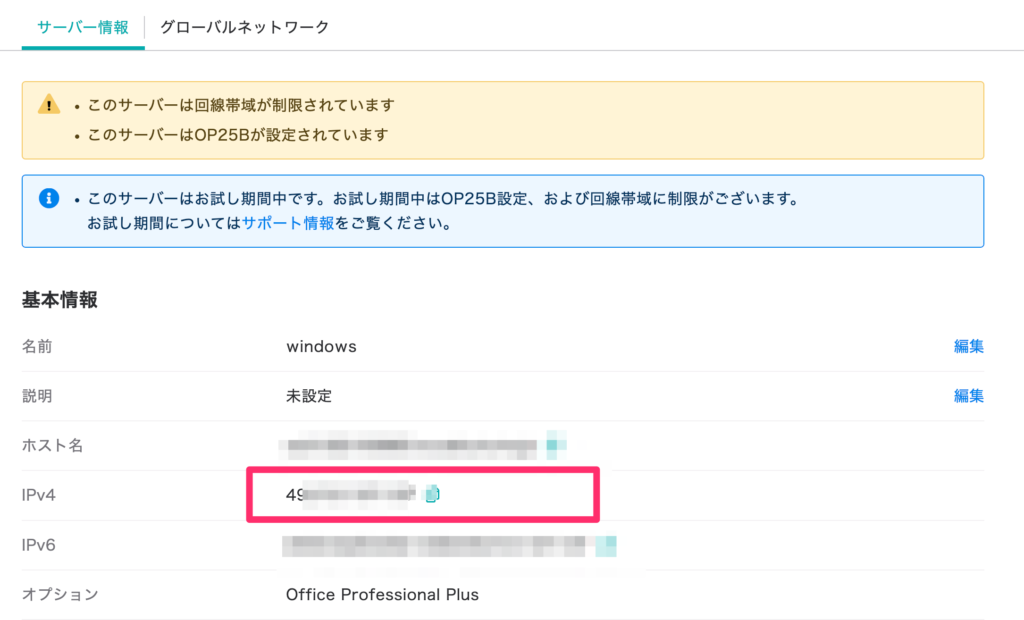
リモートデスクトップ接続時に使うのでコピーしておきましょう。
Windowsサーバーにリモートデスクトップを行う
作成したWindowsサーバーに自分のパソコンからリモートデスクトップ接続してみます。Macの場合とWindowsの場合を書いているから参考にどうぞ。
Macから作成したWindowsサーバーにリモートデスクトップ接続する
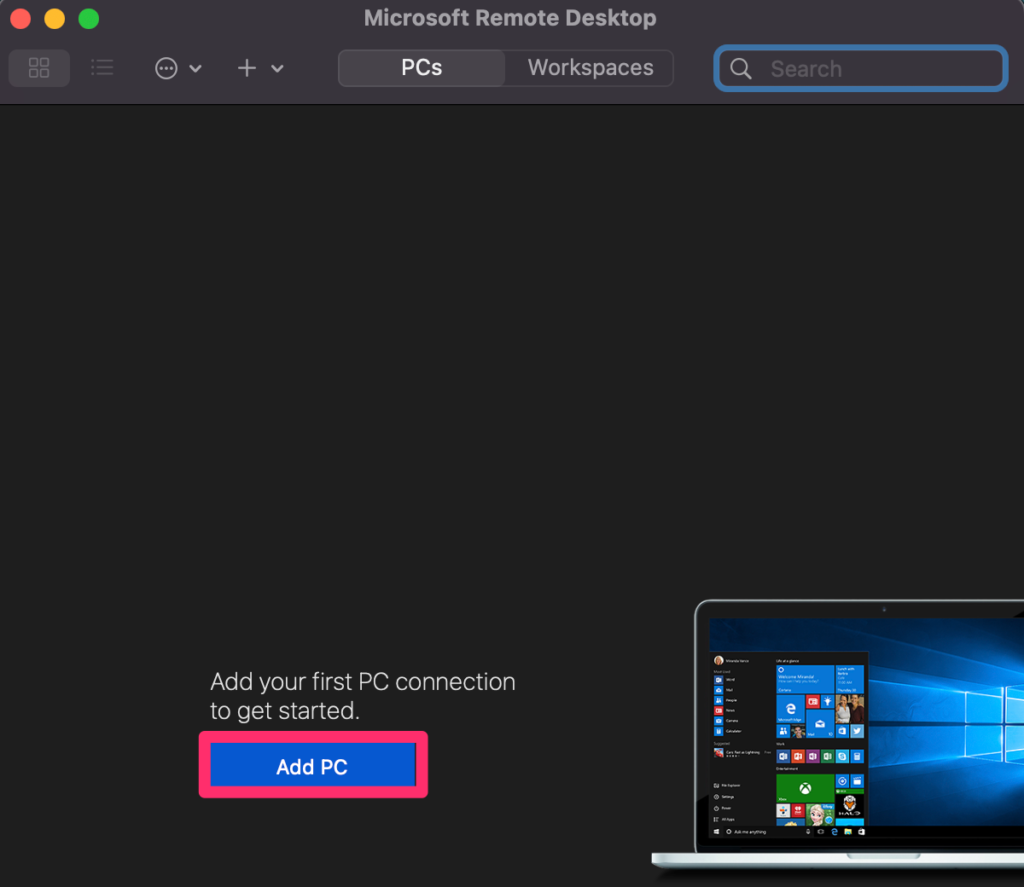
MacからはMicrosoft Remote Desktopというアプリから接続することができます。
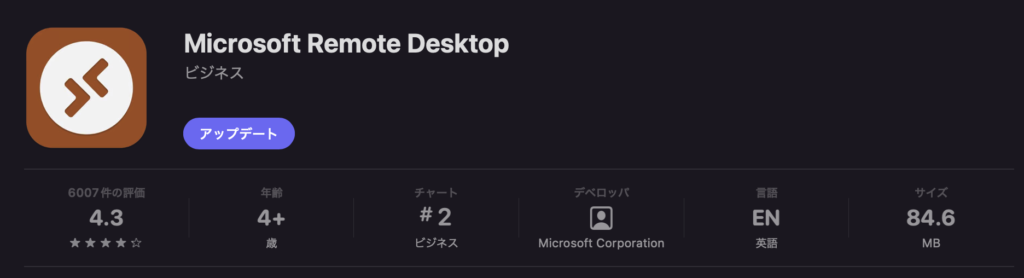
アプリを起動して、Add PCをクリック。
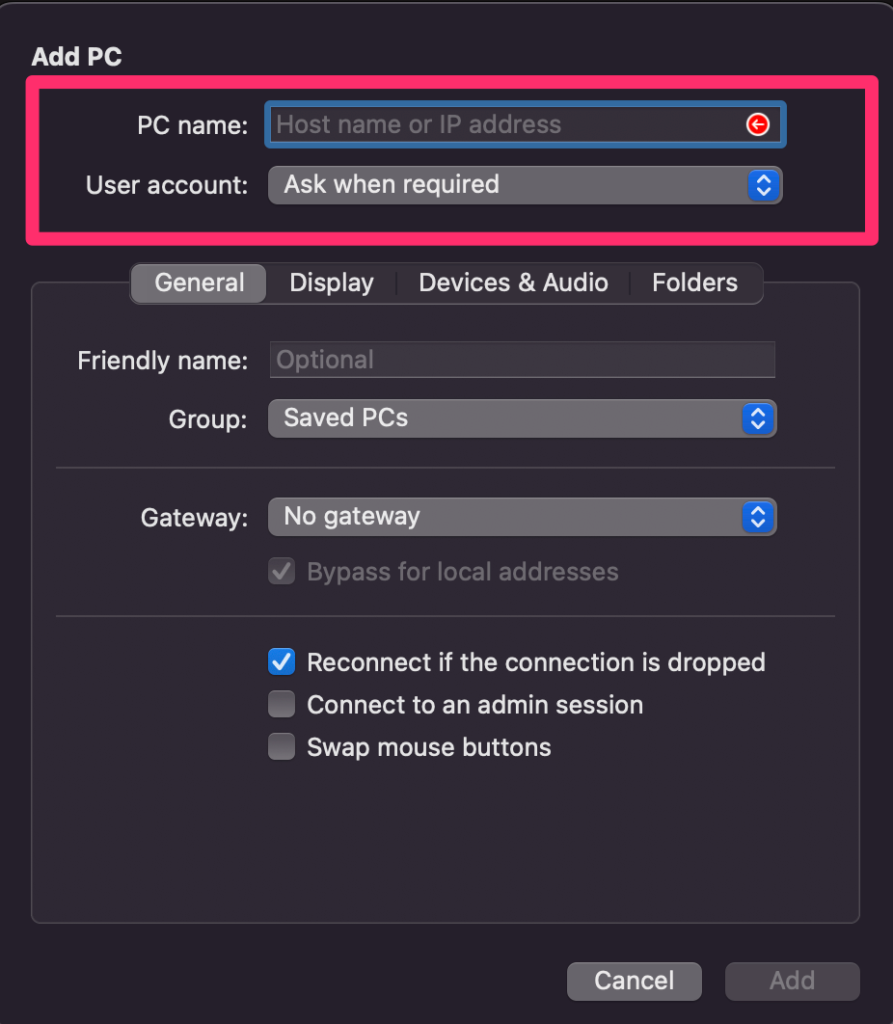

- PC name・・・WindowsサーバーのIPアドレス
- User account・・・Add User Accountを選択
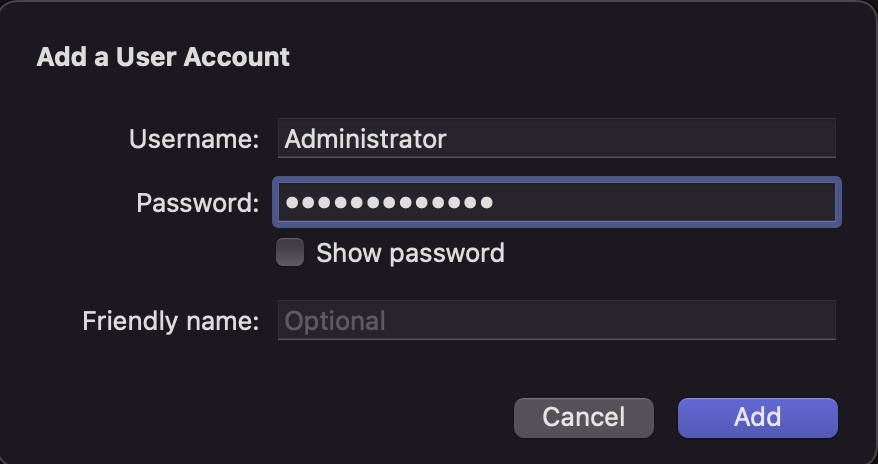
- Username・・・Administrator
- Password・・・サーバー作成時に設定したパスワード
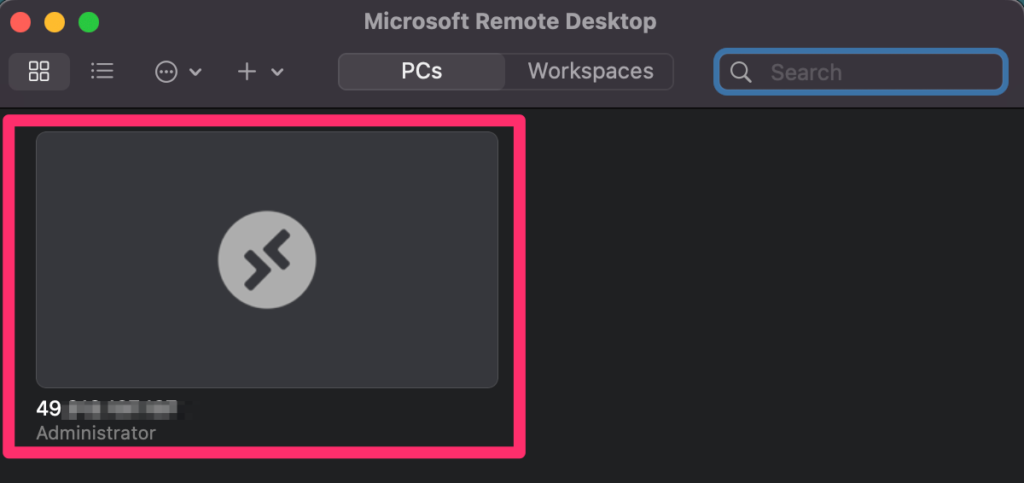
Addボタンを押すと今設定したものが追加されるので、ダブルクリックすると接続されます。
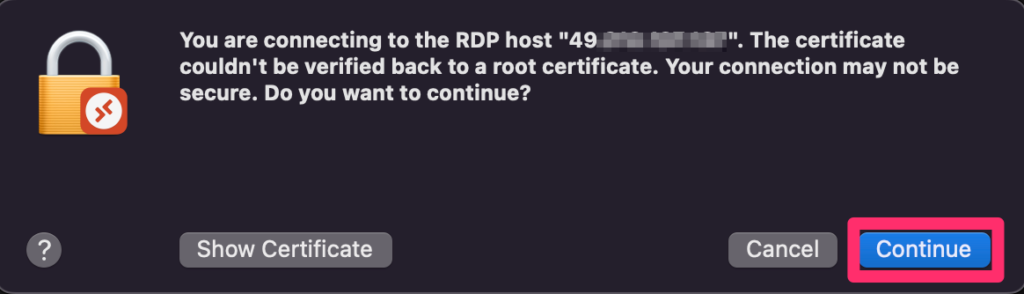
接続してみてみるとちゃんとWindowsの画面が表示されましたね。
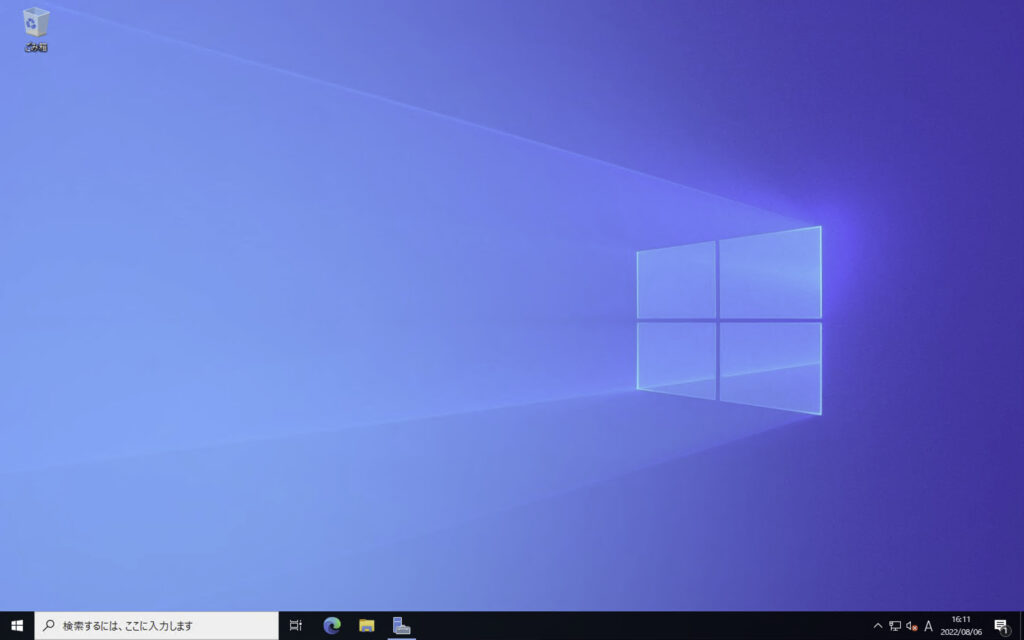
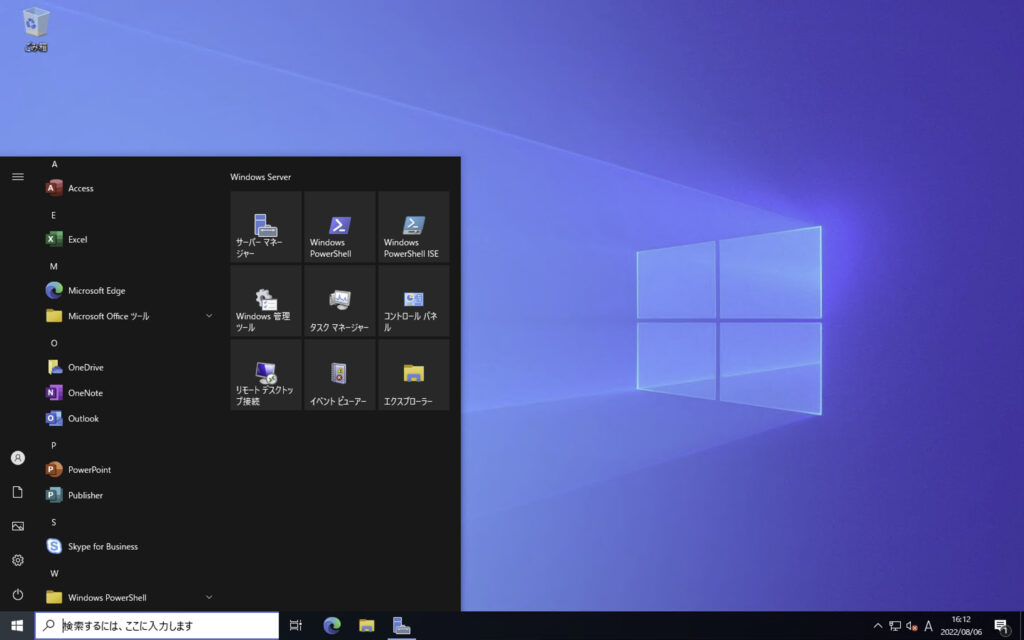
Officeのライセンスも申し込んでいたので、Office系のソフトもインストールされています。
Windowsから作成したWindowsサーバーに接続する
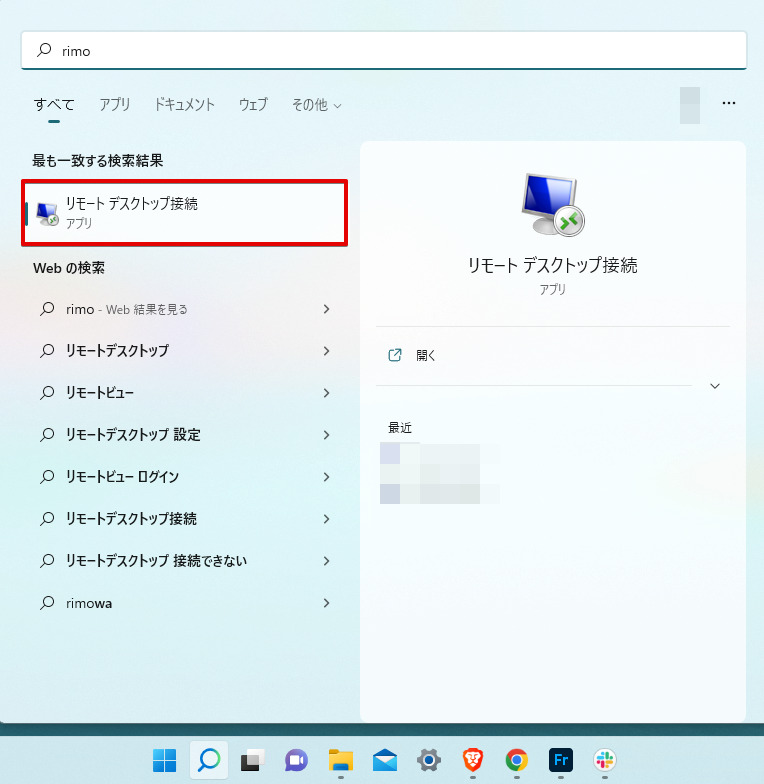
Windowsからも接続してみましょう。[リモートデスクトップ接続]から接続することができます。
コンピューターのところに立てたWindowsサーバーのIPアドレスを入力します。
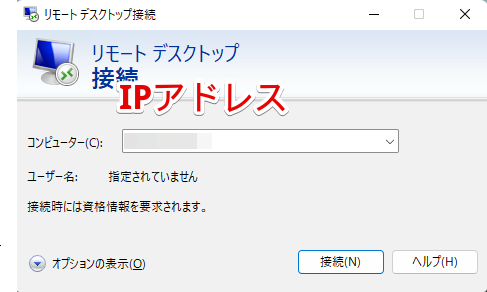
接続ボタンを押すと、ユーザー名とパスワードが問われる。
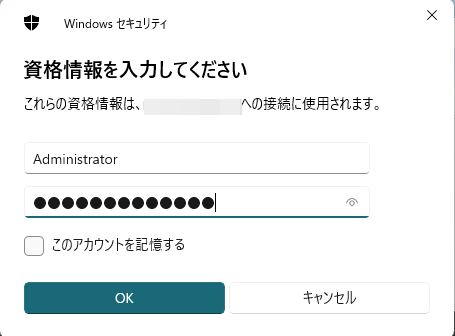
- ユーザー名・・・Administrator
- パスワード・・・サーバー作成時に設定したパスワード
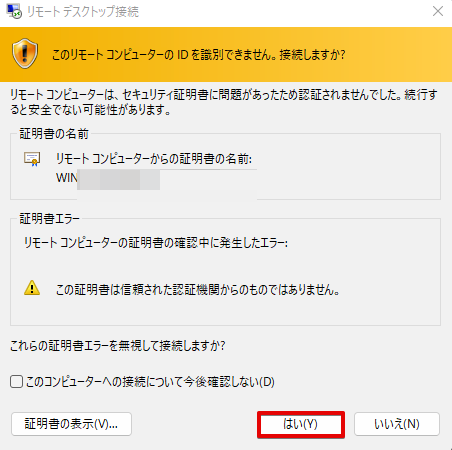
入力して接続するとWindowsの画面が表示されますね。
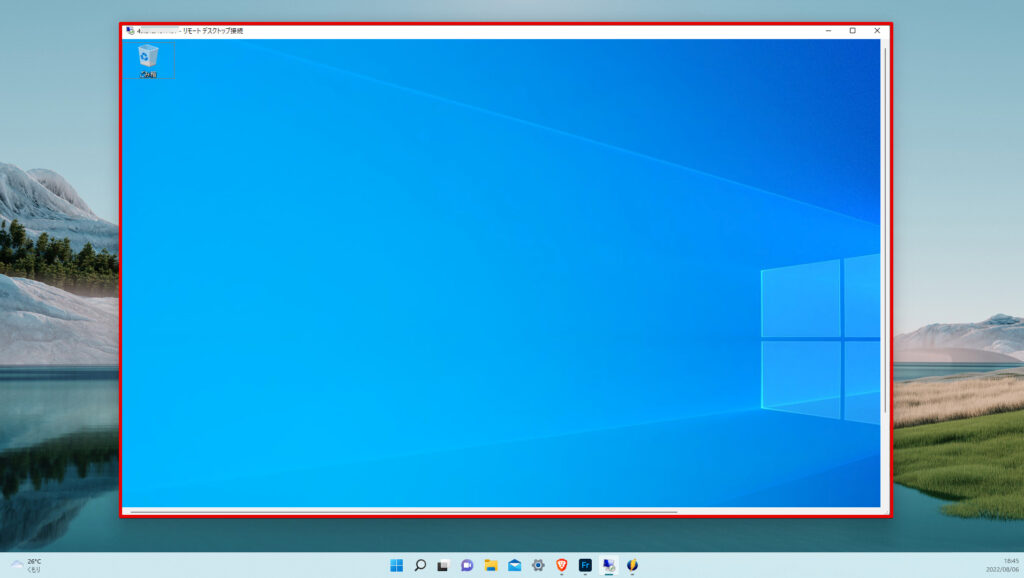
全画面表示してみると下のメニューもちゃんと見れます。
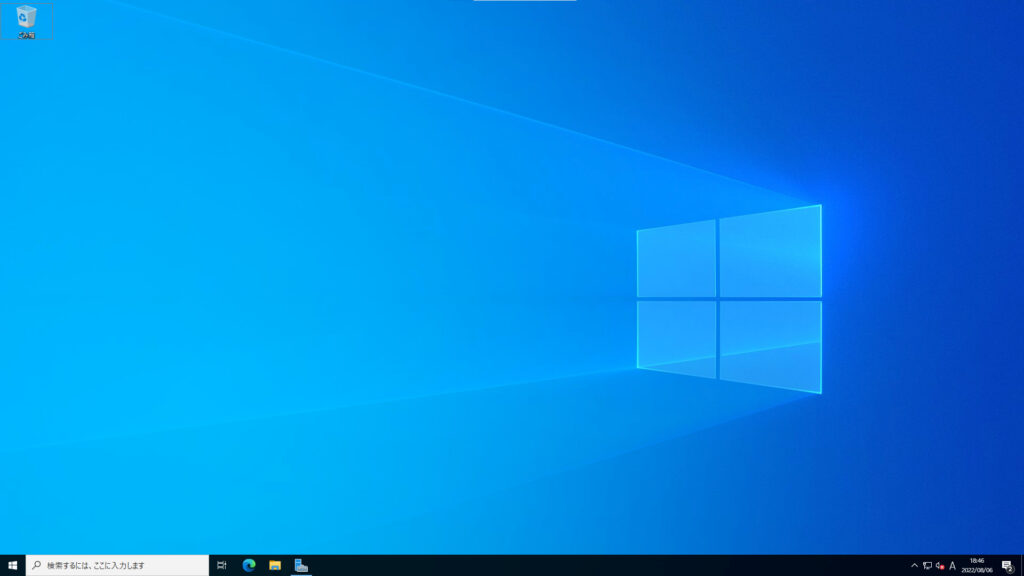
Windowsからも作成したWindowsサーバーに接続することができました。
まとめ - さくらのVPSでWindowsサーバーを立ててリモートデスクトップ接続する
今回はさくらのVPSでWindowsサーバーを立ててリモートデスクトップ接続するっていうことをやってみました。画面に従ってポチポチ選んでいけばサーバーは立てることができましたね。
サーバーを立てたら後のリモートデスクトップ接続は簡単です。
Windowsa使いたい方は、さくらのVPSでWindowsサーバーを立ててみてもいいでしょう。