
ConoHa VPSでWindowsインストールして使いたいんだけど?
Windows簡単にインストールすることができますよ。

今回はConoHa VPSでWindowsをインストールするっていうことをやっていきたいと思います。
この記事で分かること
- ConoHa VPSでWindowsをインストールする方法
- Windowsサーバーにリモートデスクトップする方法
ConoHa VPSでWindowsサーバーを立てていきます。
ちなみにConoHa VPSではWindowsサーバー構築をするテンプレートがあるんですが、今回構築する際に使用するテンプレートはWindows Server for Remote Desktopです。
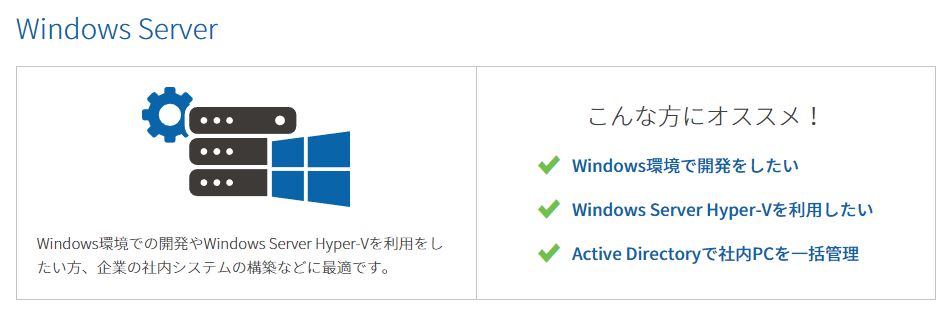
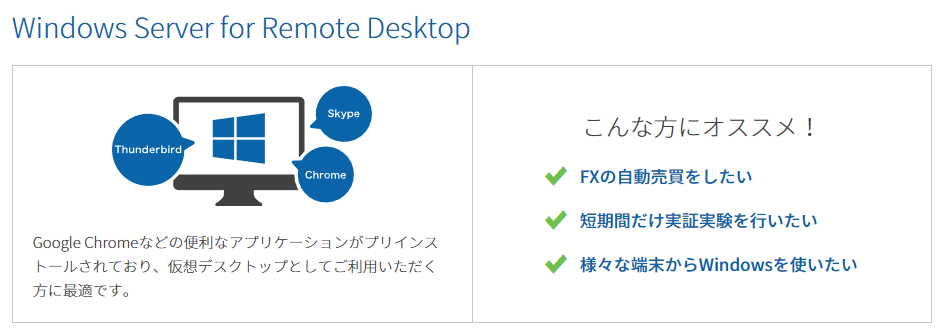
開発をしたいならWindows Serverを使うのがいいと思うけど、仮想デスクトップとして使いたいならWindows Server for Remote DesktopかWindows Server for Remote Desktop + Officeを使うのがいいでしょう。
リモートデスクトップとして使えるやつを使うんだね。
そうです、ConoHa VPSでWindowsをインストールしていきましょう。
ConoHa VPSでWindowsをインストールして使う手順
早速ですがConoHa VPSでWindowsをインストールして使う手順としてはこんな流れです。
- ConoHa VPSに登録する
- ConoHa VPSでWindowsを選択してサーバー構築する
- リモートデスクトップ接続する
テンプレート使ってサーバー構築するだけだね。
そうですね、結構簡単にできます。
ConoHa VPSのアカウント登録は済ませておこう
ConoHa VPS![]() には登録しているていで書くので、もし登録していなかったらアカウント登録を済ませておいてください。Windowsサーバーの構築していきましょう。
には登録しているていで書くので、もし登録していなかったらアカウント登録を済ませておいてください。Windowsサーバーの構築していきましょう。
ちなみに料金体系やプランなど気になったら以下の記事を見てみてください。
-

-
ConoHa VPSの料金プランとおすすめの選び方を紹介します。
2022/11/25
VPSを使おうと思っても、まずは気になるのは料金プランですよね。そこで今回はConoHa VPSの料金プランを解説していきたいと思います。 ConoHa VPSの料金プランとどうプランを選んだらいいか ...
ConoHa VPSでWindowsをインストールする
ConoHa VPSでアカウント登録をするとサーバー構築をすることができるんですが、いろんな選択肢を選ぶことでサーバーを作ってくれます。
色々あるけど、今回はこんな感じで作成します。
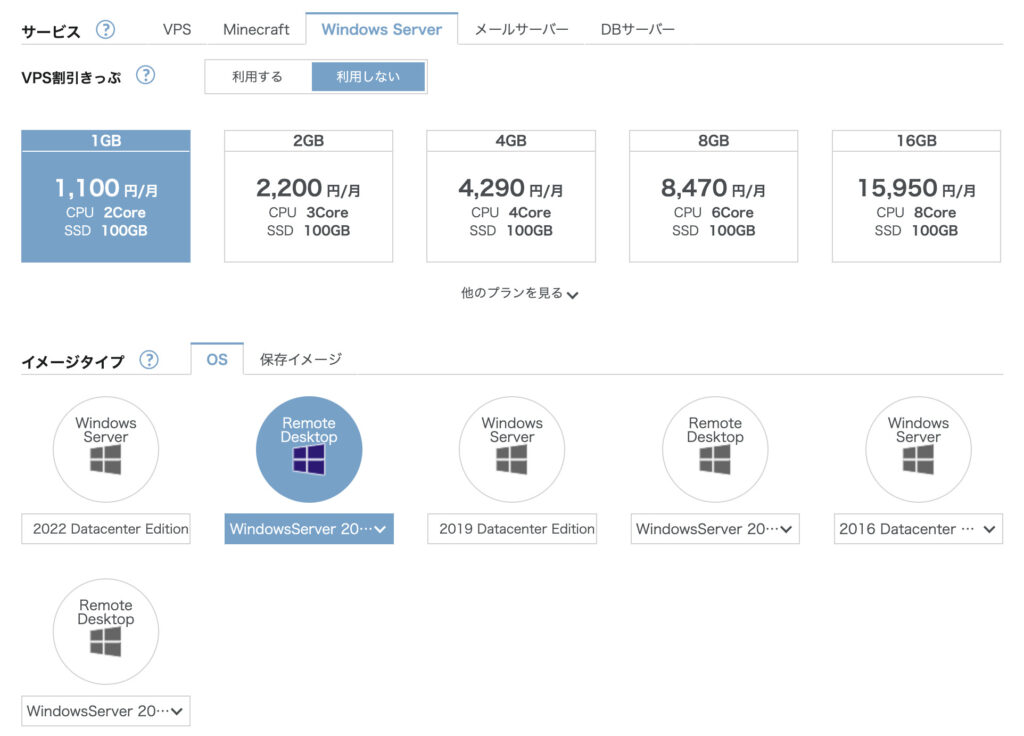

- サービス・・・Windows Server
- VPS割引きっぷ・・・利用しない
- メモリ・・・1GB
- イメージタイプ・・・Windows Server(2022 Datacenter Edition)
- ライセンス ・・・リモートデスクトップ(RDS)SALを1個
- Administratorパスワード・・・リモートデスクトップ時に使うので覚えておこう
- オプション・・・そのまま
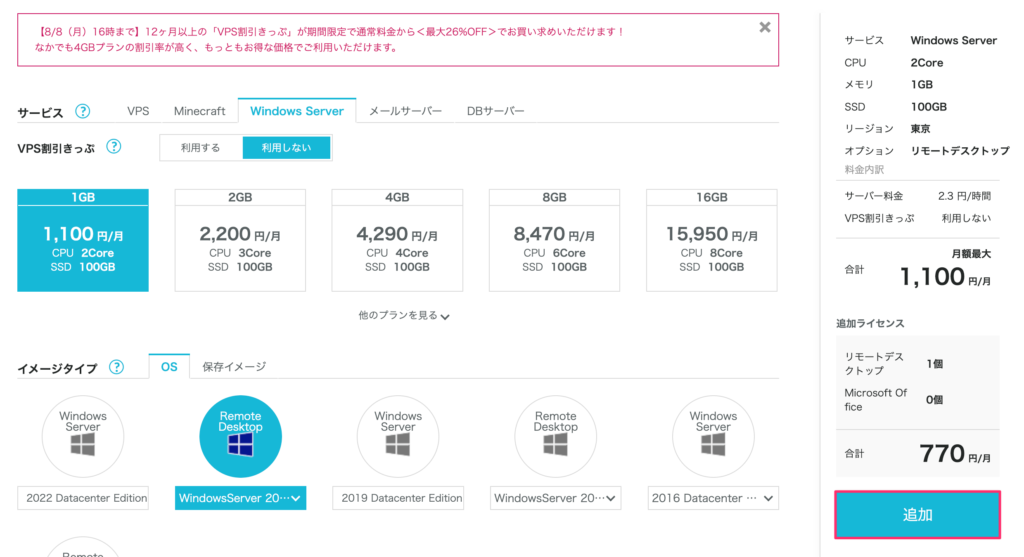
リモートデスクトップ(RDS)SALって何?
リモートデスクトップ接続するなら必要なものだよ。
「ConoHa for Windows Server」のVPSに対して「サーバー管理」目的以外のリモートデスクトップ接続をするユーザーは、その人数分の「リモートデスクトップ(RDS) SAL」のご契約が必要です。なお、接続先のサーバー数に制限はありません。
ConoHa VPS
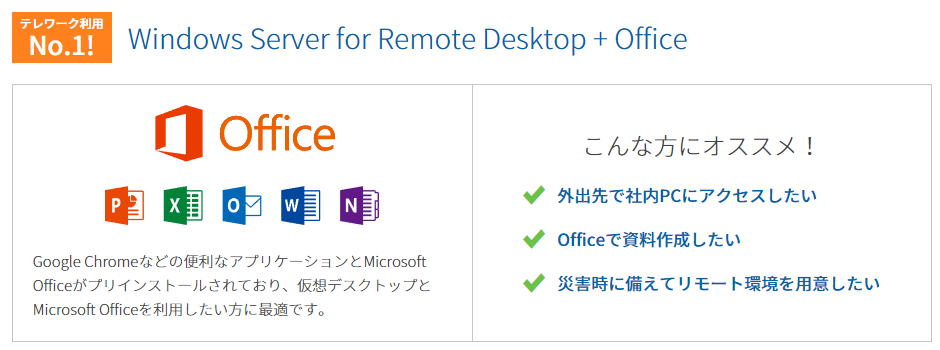
今回はリモートデスクトップ接続をするので、1つ選択しておきます。ちなみにOfficeを使いたかったらMicrosoft Office SALが必要になりますよ。
これで追加ボタンを押すと、サーバーが作成されますね。
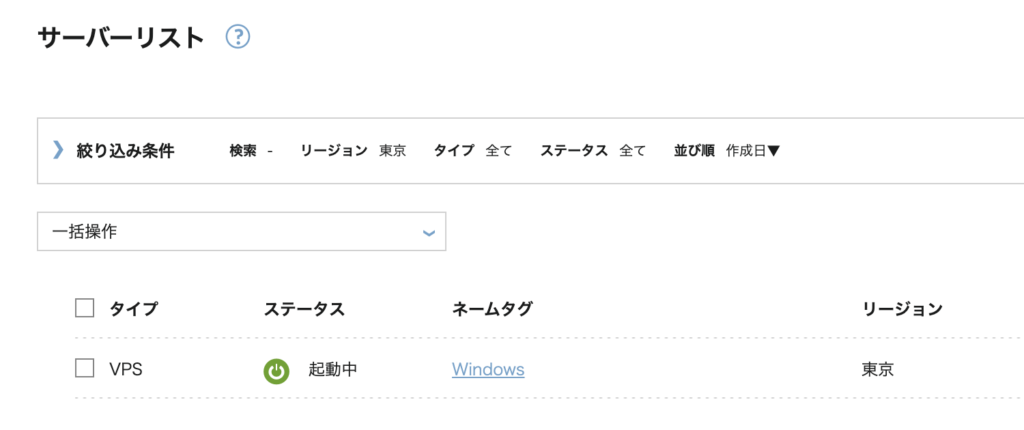
サーバーが構築されると、ステータスが起動中になります。
これでWindowsにリモートデスクトップ接続できるの?
そうですね、自分のパソコンから接続できるのでやっていきましょう。
サーバーのIPアドレスを確認する
リモートデスクトップ接続する際に作成したサーバーのIPアドレスが必要なので確認します。ネームタグをクリックしてコピーしておきましょう。
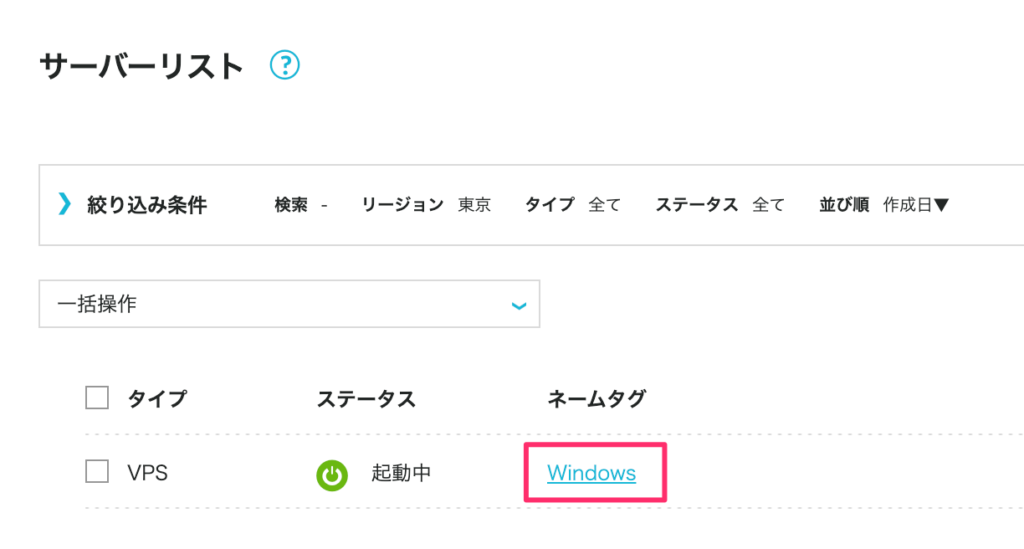
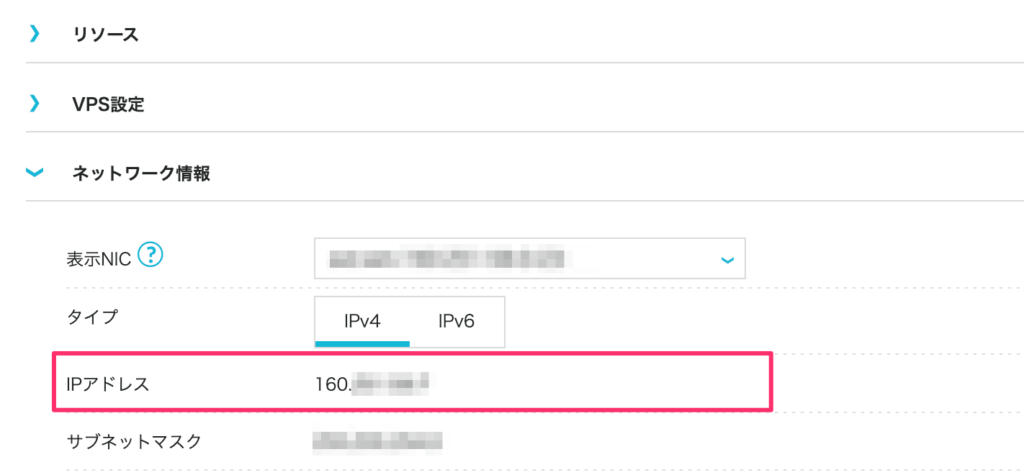
このIPアドレスをリモートデスクトップ接続の際に使うので、コピーしておくといいですよ。
MacからConoHa VPSで接続したWindowsサーバーにリモートデスクトップ接続する
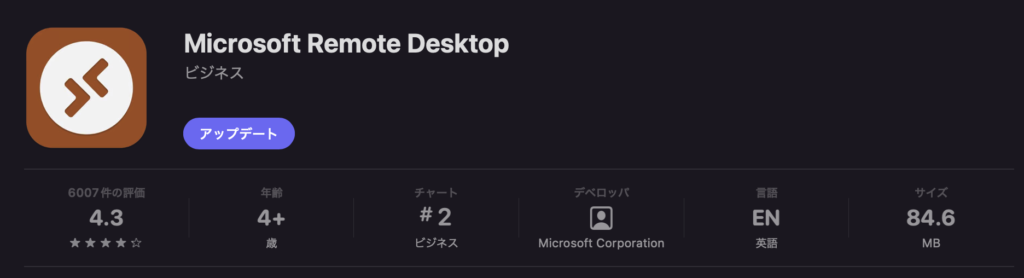
Macでリモートデスクトップ接続するために、Microsoft Remote Desktopアプリをインストールします。
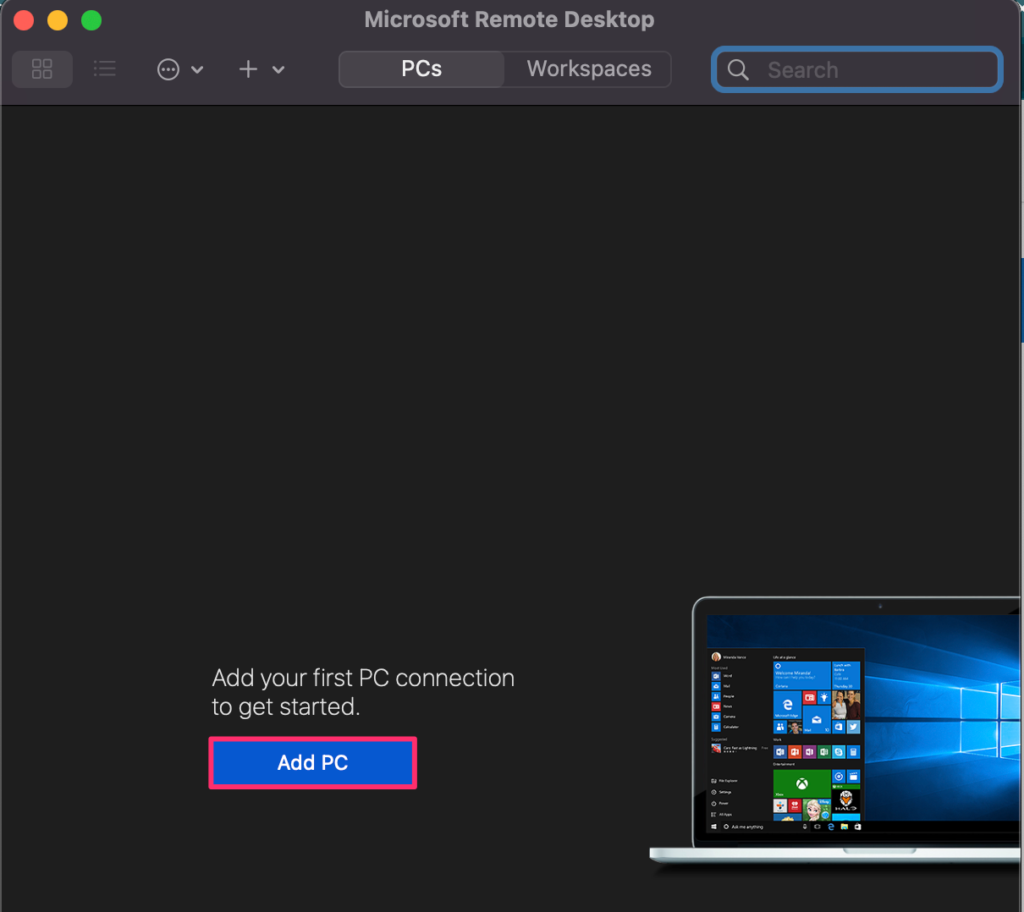
アプリを起動したら[Add PC]をクリック。
IPアドレスとユーザーアカウントを設定しましょう。
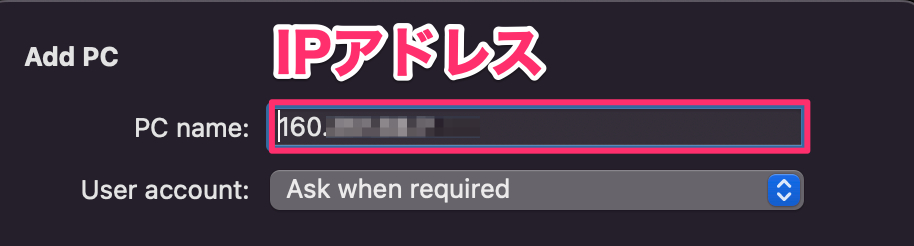
PC nameにIPアドレスを入力して、User accountにはAdd User Accountを選択しします。

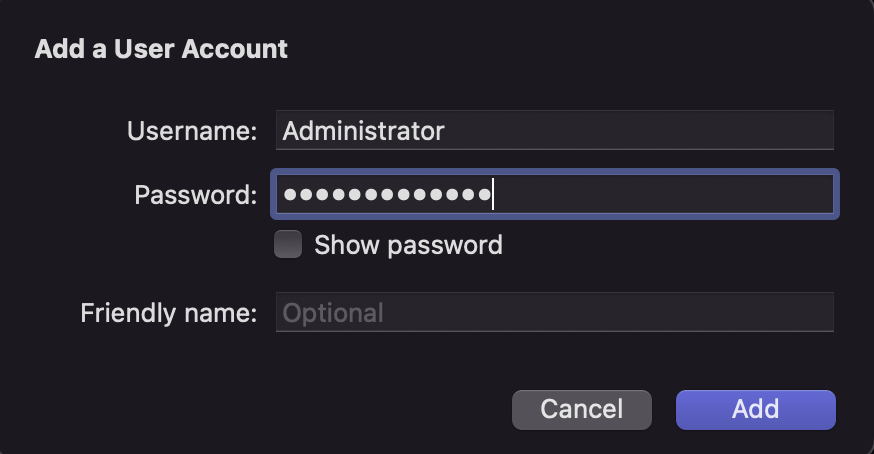
- Username・・・Administrator
- Password・・・サーバー構築時に設定したパスワードを入力
Addボタンを押すと追加されるから、ダブルクリックすると接続できる。
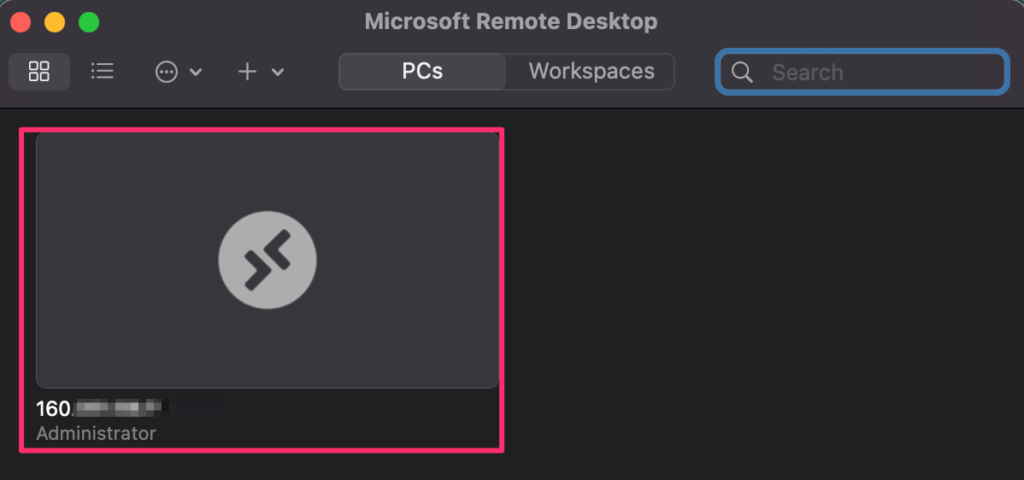
接続してみるとWindowsの画面が出てきましたね。

これがどんな風にMac上でなっているかっていうと、Macのデスクトップ上に作られますね。

Macでの作業と並行してWindowsも見れるから楽でやりやすいです。普通にWindowsパソコンを使うようにリモートデスクトップのWindowsをいじることができます。
WindowsからConoHa VPSで作成したWindowsサーバーにリモートデスクトップ接続する
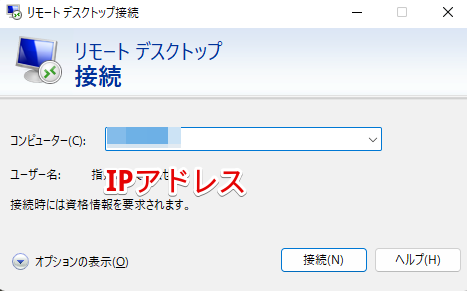
Windowsでは[リモートデスクトップ接続]を選択して接続します。
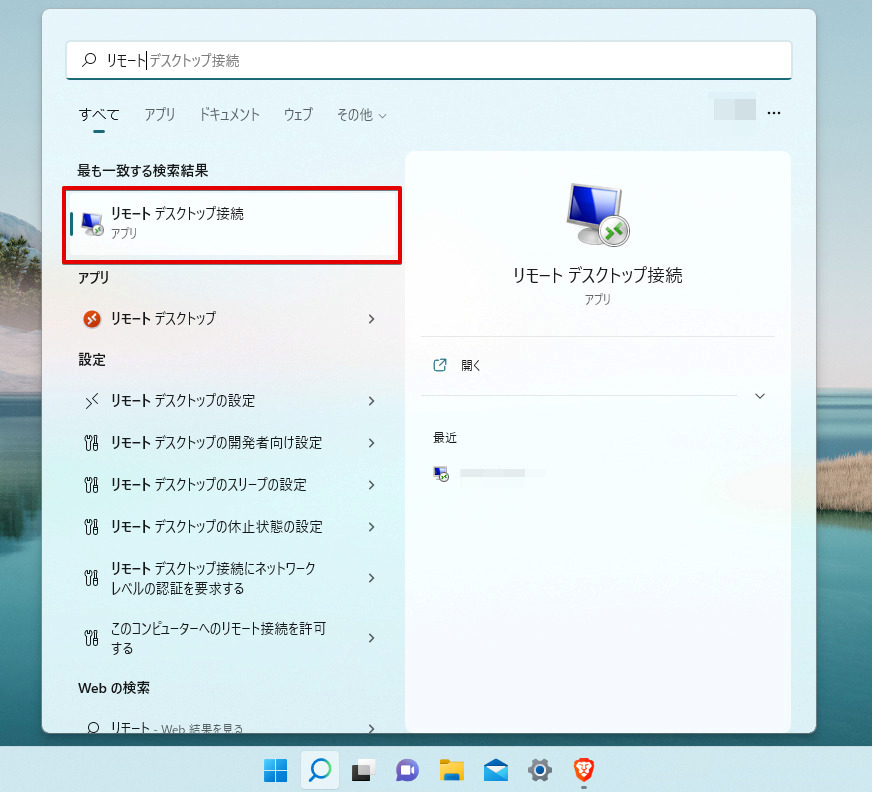
IPアドレスを入力して、Administratorとそのパスワードを入力します。
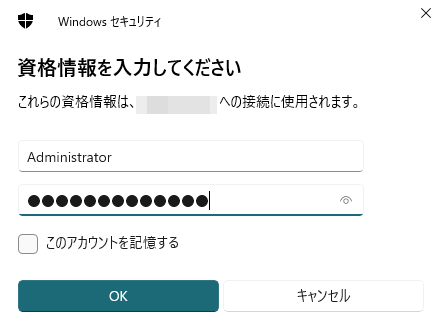
- Administrator
- サーバー構築時に設定したパスワード
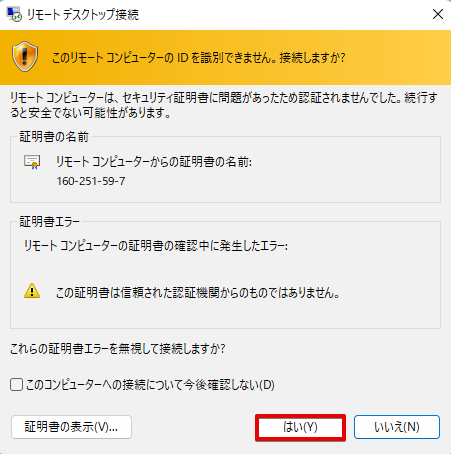
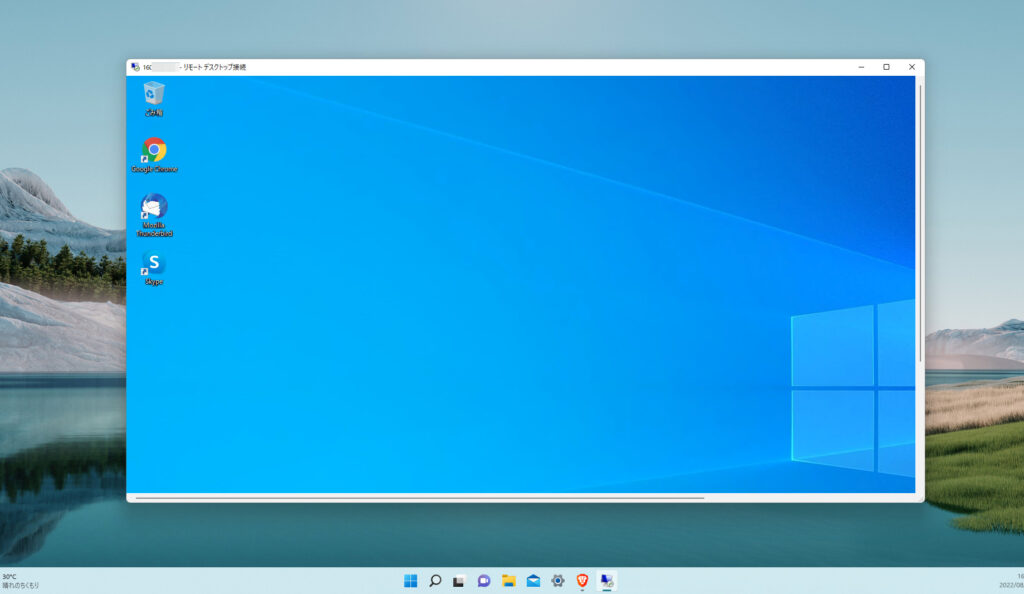
接続すると、Windowsが表示されますね。
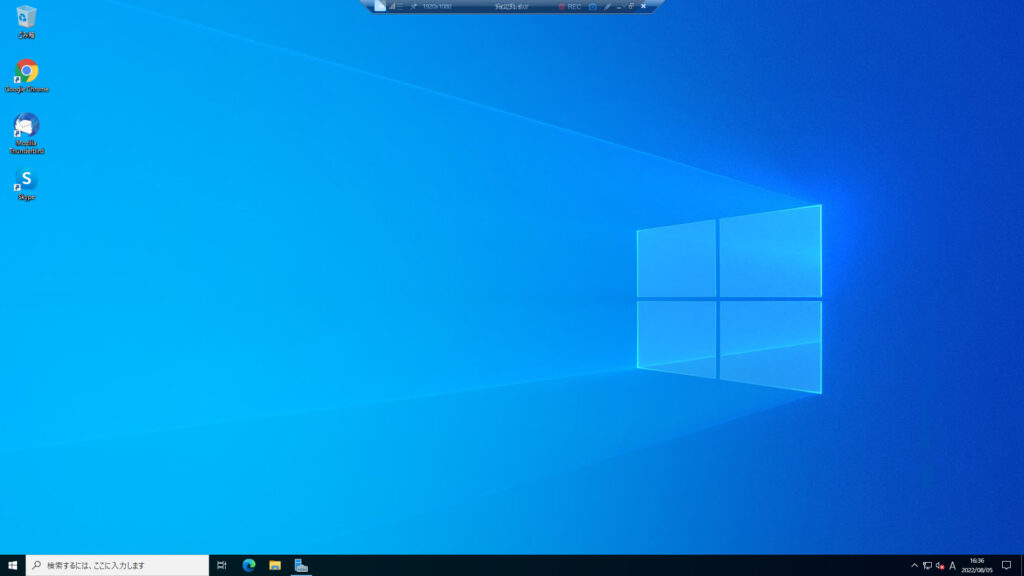
ちなみにWindowsではウィンドウとして接続した画面を見ることができました。
まとめ - ConoHa VPSでWindowsをインストール
今回はConoHa VPSでWindowsをインストールして、リモートデスクトップとして接続するっていうことをやってみたけど流れとしてはこんな感じでした。
- ConoHa VPSでWindows Server for Remote Desktopテンプレートを使ってサーバー構築
- MacからWindowsサーバーに接続
- WindowsからWindowsサーバーに接続
Windowsサーバーの構築は構築時にポチポチ選択するだけなので簡単です。接続もたいしたことないです。
自分のパソコンとは別でWindowsを使いたいときにはConoHa VPS![]() 使えますね。
使えますね。