

エックスサーバーVPS申し込みたいんだけどどうやるんだろう?
この記事ではそんな疑問を解消するためにエックスサーバーVPSの申し込み方法について書いていきます。
エックスサーバーといえばレンタルサーバーが有名だけど、今回はエックスサーバーのVPSについて。
この記事で分かること
- エックスサーバーVPSの申し込み方法
これからエックスサーバーVPSを使い始めようと思っている方は参考にしてみてください。
エックスサーバーVPSの始め方をみていきましょう。

エックスサーバーVPSに申し込む
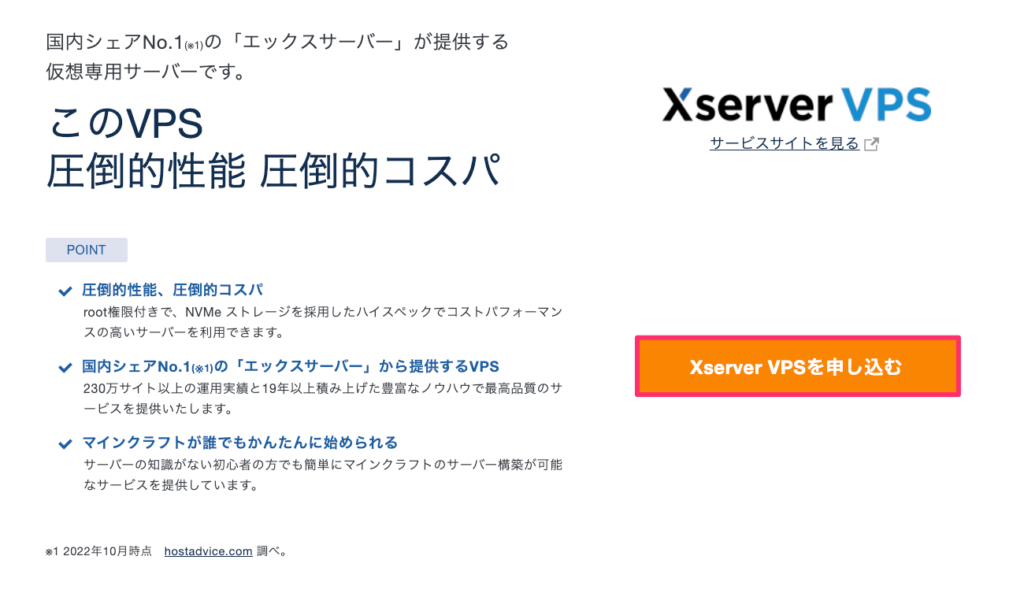
エックスサーバーVPSからお申し込みをクリックして申し込んでいきます。

Xserverアカウントを持っている人はログインして進んで、まだ持っていない場合は新規お申し込みから始めましょう。
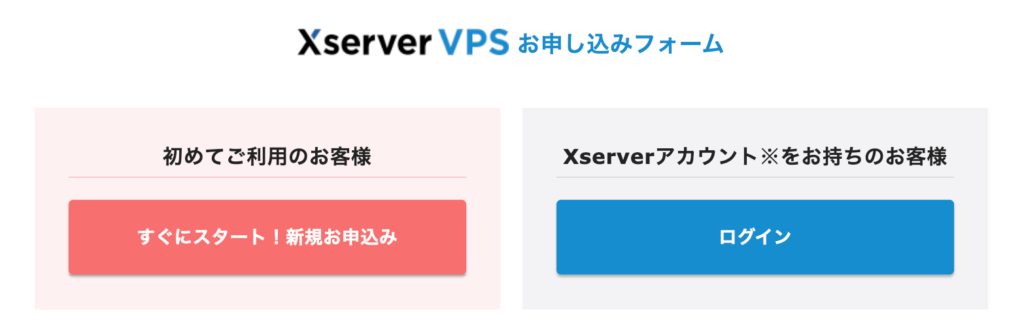
今回はXserverアカウントを持っているのでログインから進めます。
ログインしたらXserver VPSを申し込みます。
申し込みへ進んでプランや契約期間などを選択していきます。
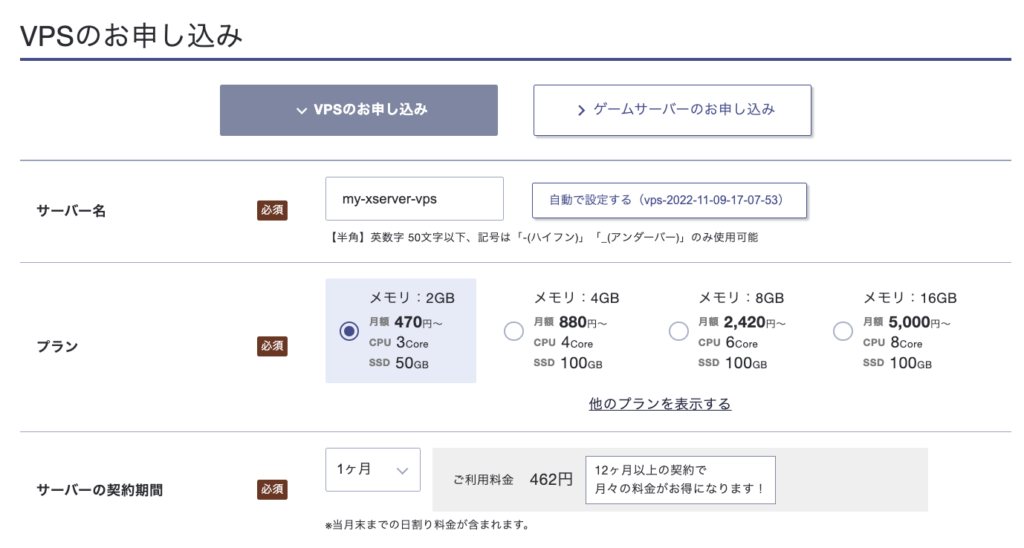
- サーバー名・・・デフォルトのままでもいいし、自分で決めてもOKです。
- プラン・・・好きなプランを選択(今回はメモリ2GBとします。)
- サーバーの契約期間・・・1・3・12・36ヶ月から選択(今回は1ヶ月とします。)
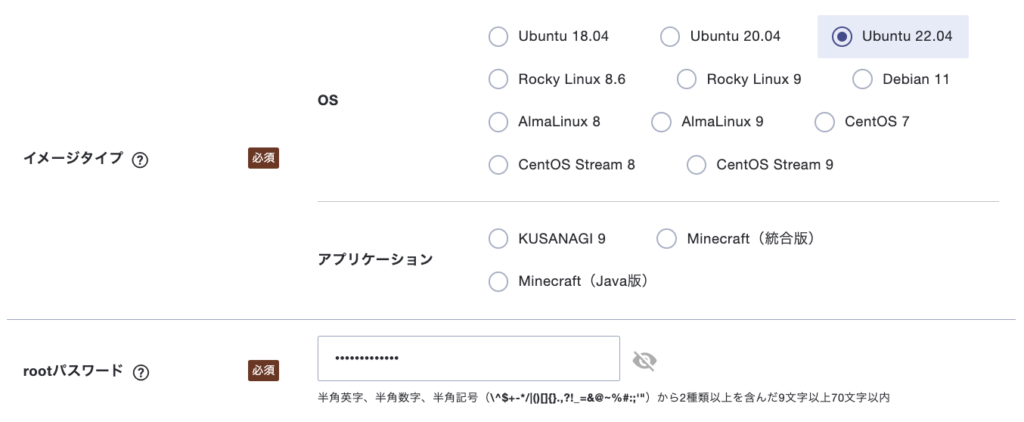
- イメージタイプ・・・好きなOSかアプリケーションを選択(今回はUbuntu22.04にします)
- rootパスワード・・・好きなrootパスワードを設定

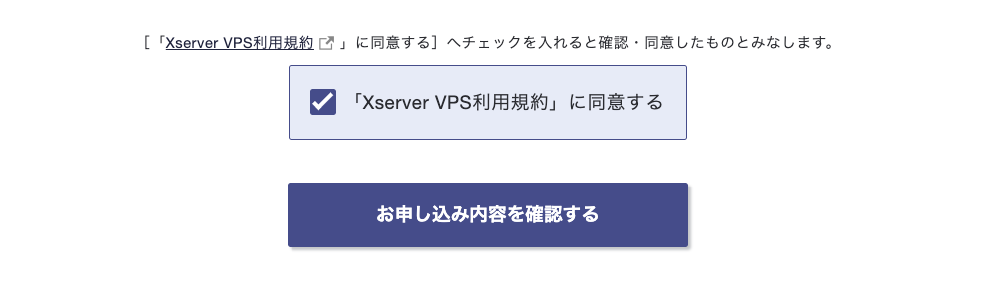
SSH Keyは登録しておいて欲しいので、自動生成を選択して名前を入力しておきます。
これで[お申し込み内容を確認する]ボタンをクリックして進みましょう。
SSHのプライベートキーがダウンロードできるからダウンロードしておきます。
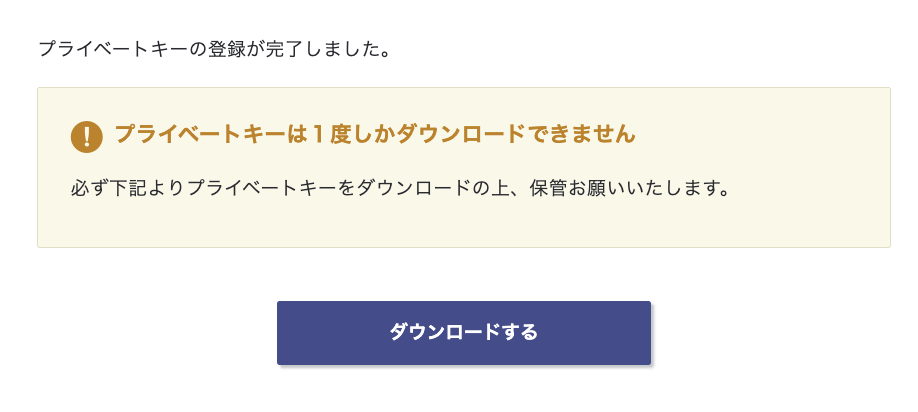
プライベートキーは1度しかダウンロードできないので大事に保管しておきましょう。
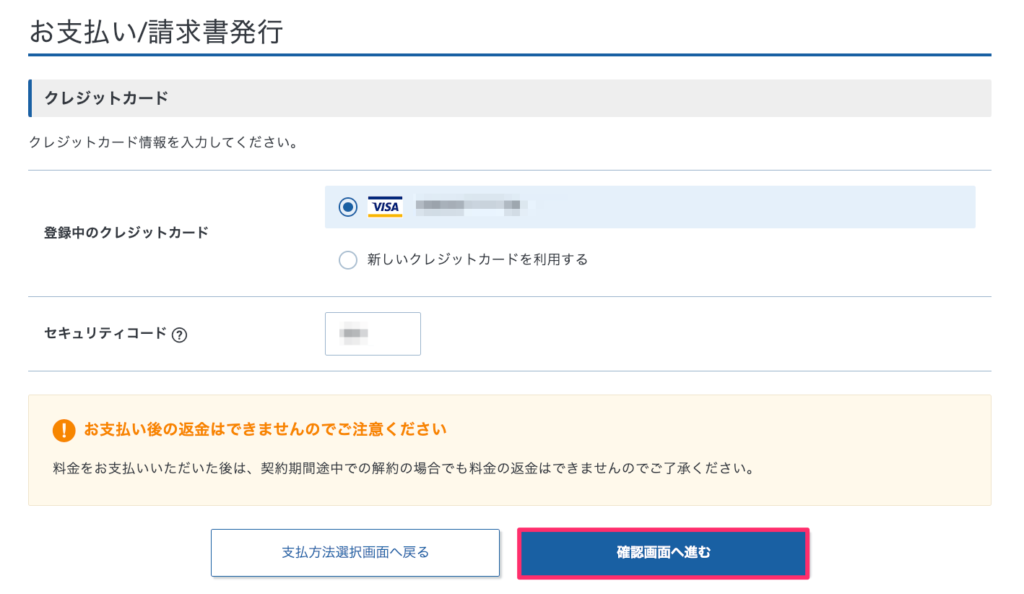
申し込み画面を確認してOKなら支払いへ進みます。
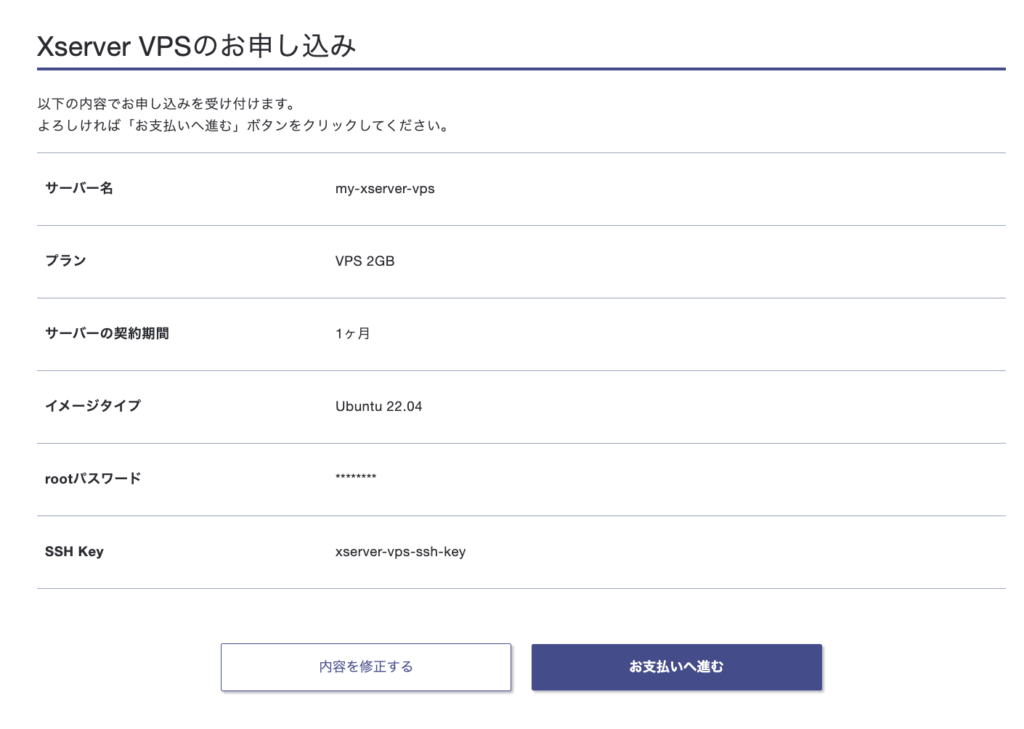
お支払いへ進むをクリックして決済画面へ進みましょう。
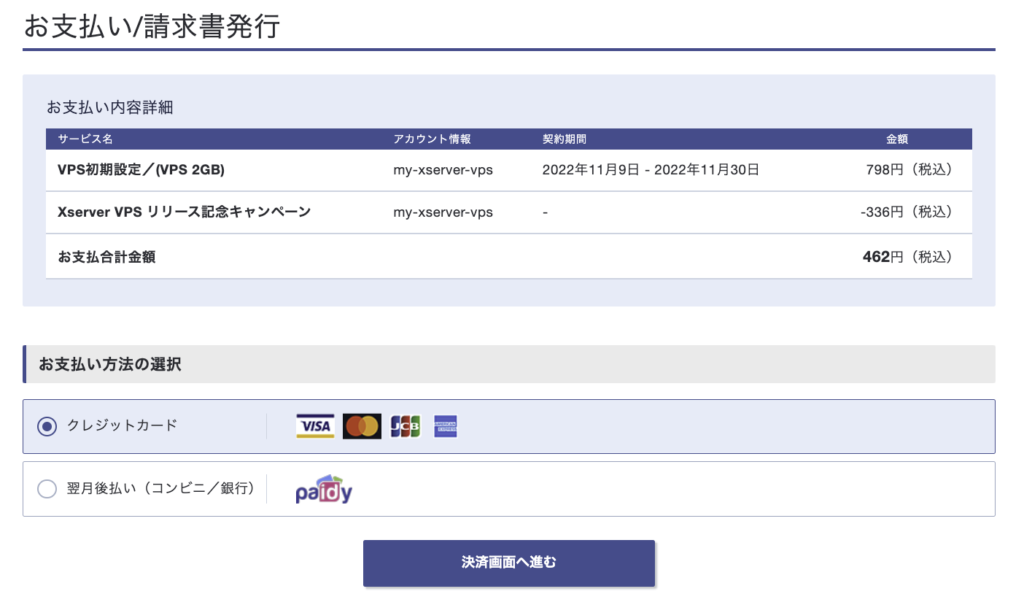
支払いをすれば申し込み完了です。
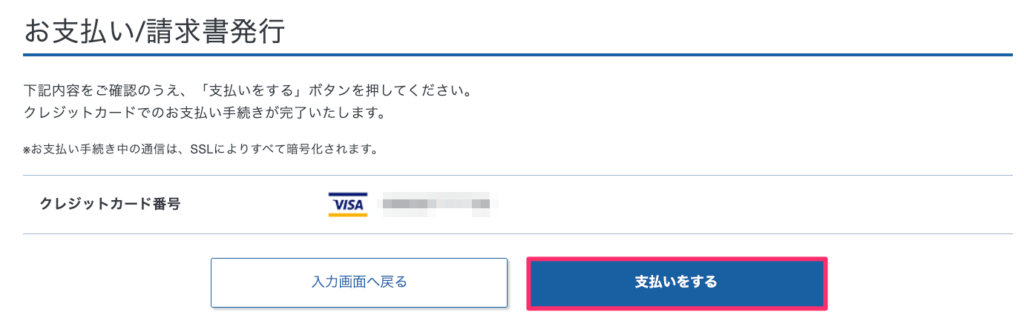
これで申し込みは完了です。
エックスサーバーのトップページを見ると作成したVPSがサーバーの欄に表示されていますね。

申し込むとメールも来ているはずなので受信BOXを確認してみるといいですよ。
作成されたサーバーを確認する
VPSの申し込みが完了した直後だと[サーバー設定中]だけど、しばらくすると設定が完了して[VPS管理]というボタンが表示されます。

VPS管理ボタンを押すとサーバー情報が表示されますね。
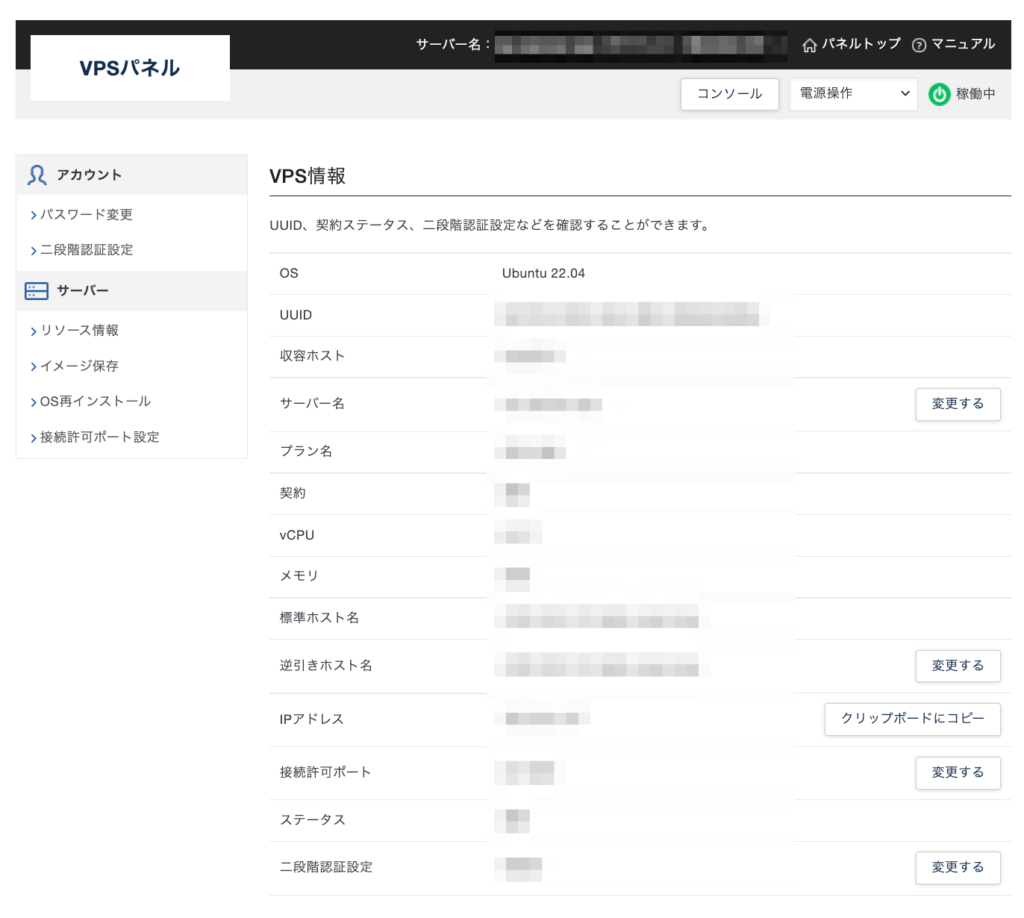
選択したOSにちゃんとなっているね。
そうですね、あとはこのサーバーをいじるだけです。
申し込み時にメモリやOSを選んでやれば、それらの設定でサーバーが構築されます。選択をポチポチしていくだけだから簡単ですね。
OSの再インストールが可能
別のOS再インストールってできないのかな?
再インストール機能を使えばできますよ。
VPSの管理画面にある[OS再インストール]からOSを選んで再インストールをすることができます。
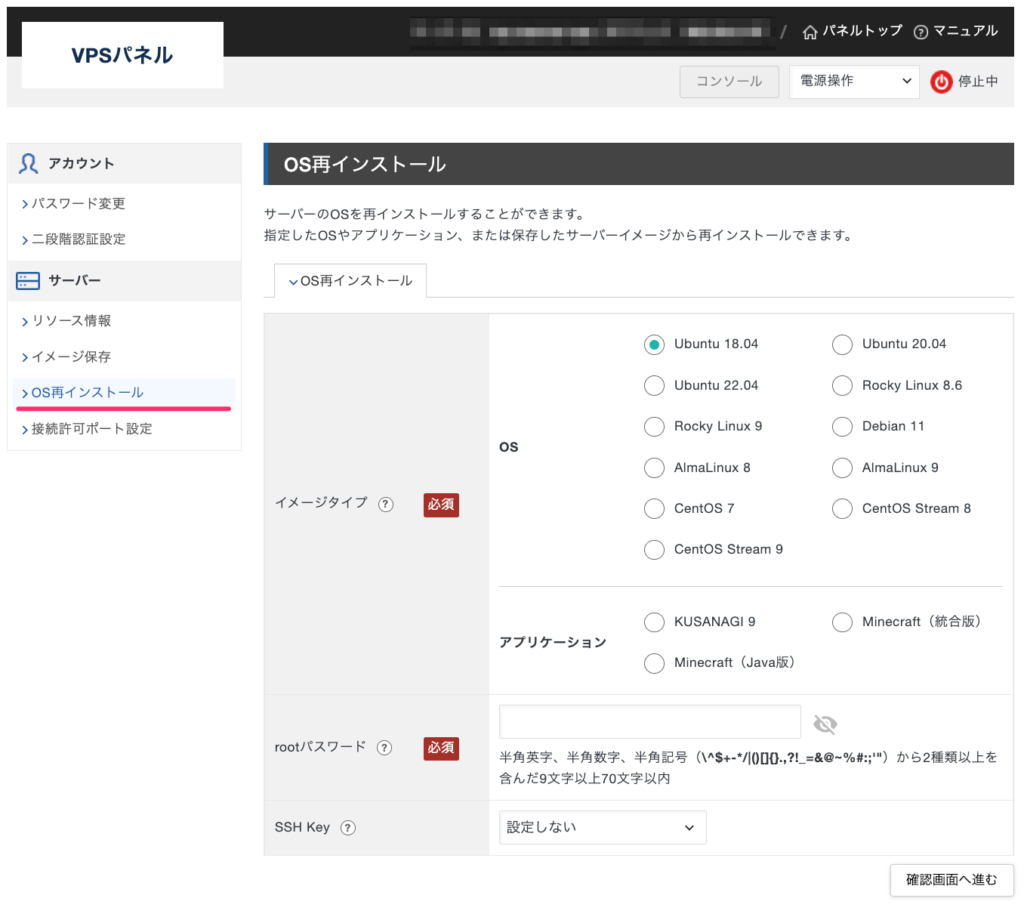
ポイント
サーバーをシャットダウンしてからじゃないと再インストールすることはできないので、シャットダウンしてから行いましょう。
まとめ
今回はエックスサーバーVPSの申し込み方法について見てみたけど、サーバー構築まで簡単でしたね。サーバーを構築する際には自分が使いたいOSやメモリを選択して作成してやりましょう。